Chocolate Cupcakes with Dulce de Leche Drizzle

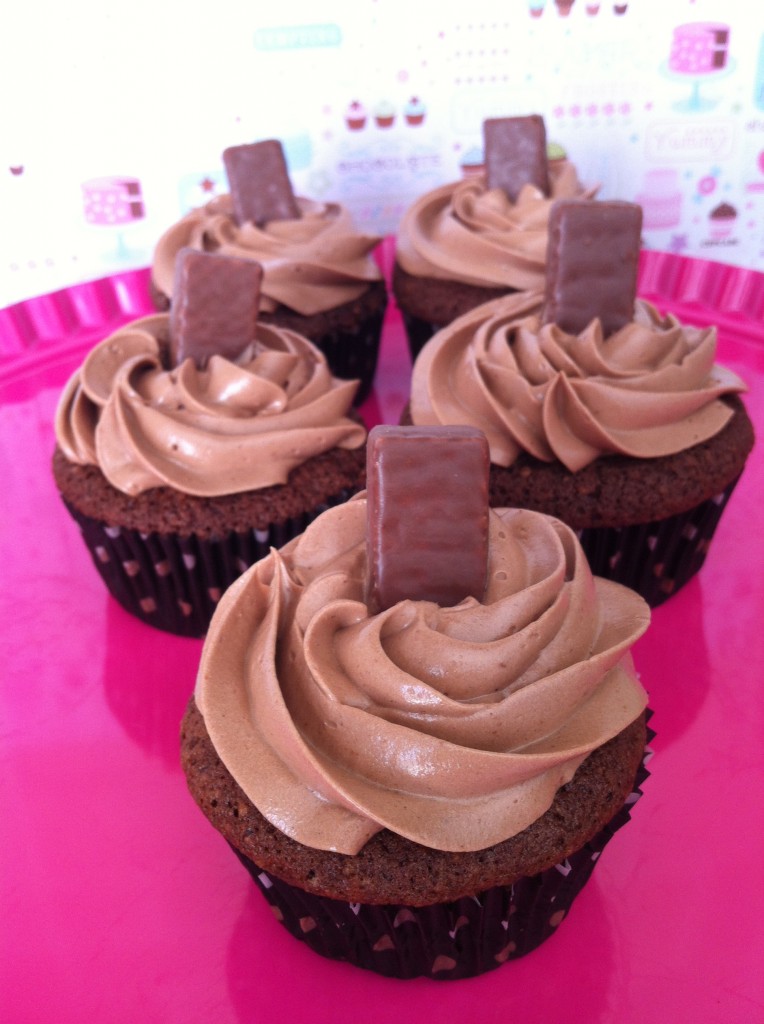
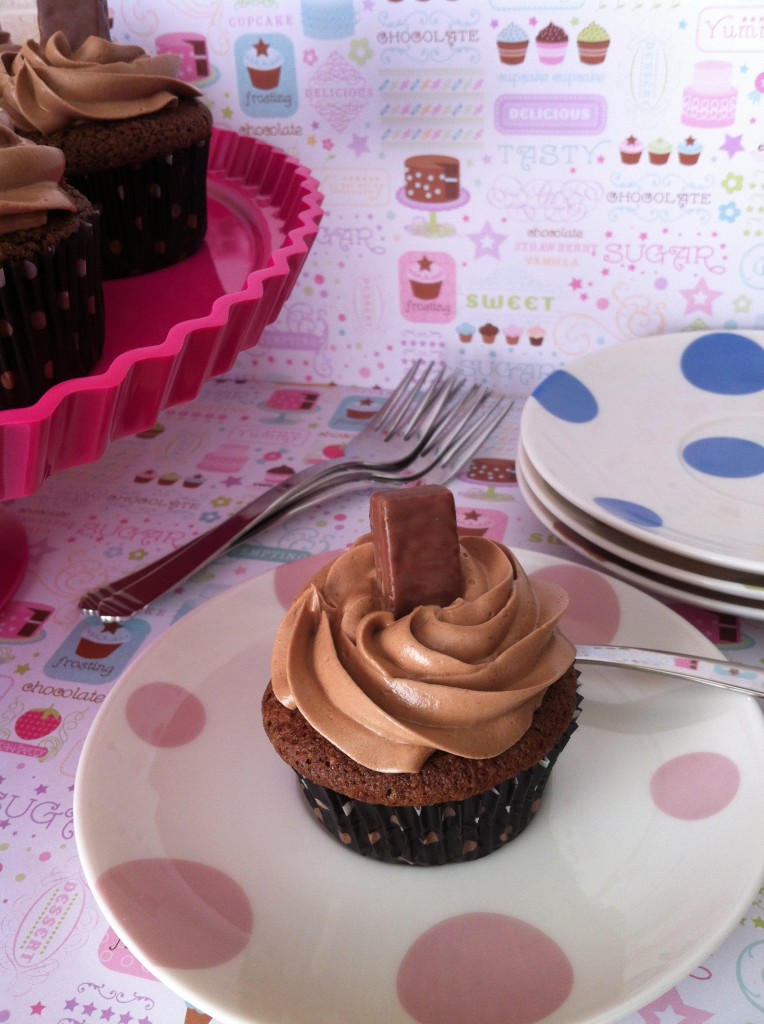
I recently made a vanilla bean cookie for Easter, but as usual, I wanted to make something else for our family gathering.  Since I wouldn’t be making an Easter themed cupcake, I knew it had to at least be chocolate based.  And that’s how these Gluten Free Chocolate Cupcakes with Dulce de Leche Drizzle were born.
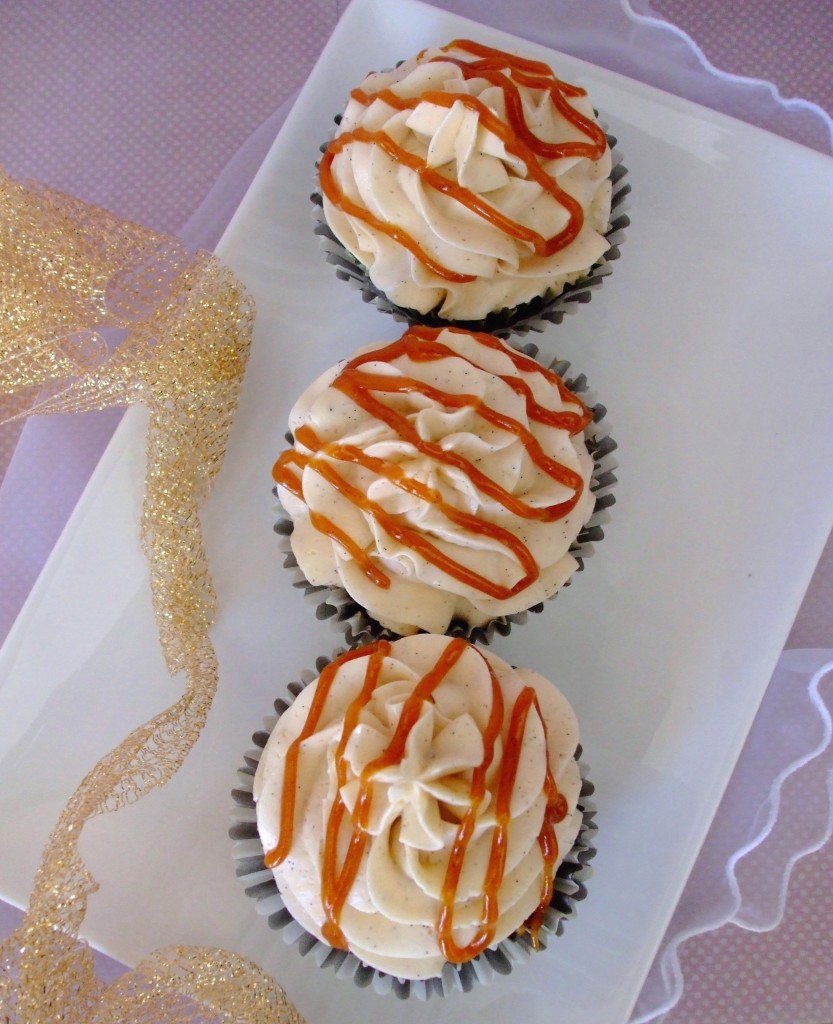
Gluten Free Chocolate Cupcakes with Dulce de Leche Drizzle

I’ll forewarn you…this is definitely a decadent cupcake, but trust me it’s worth it!  I added Nutri-whip whipped topping to the cupcake batter, and used a premium cocoa.  The result was a light chocolate cupcake but with a rich brownie taste.  If you only have one mixer (like me), you will need to remove the mixed batter from the bowl in order to whip up the Nutri-Whip before folding it into the batter.  Times like this I wish I had a second mixer (hint, hint to my hubby).
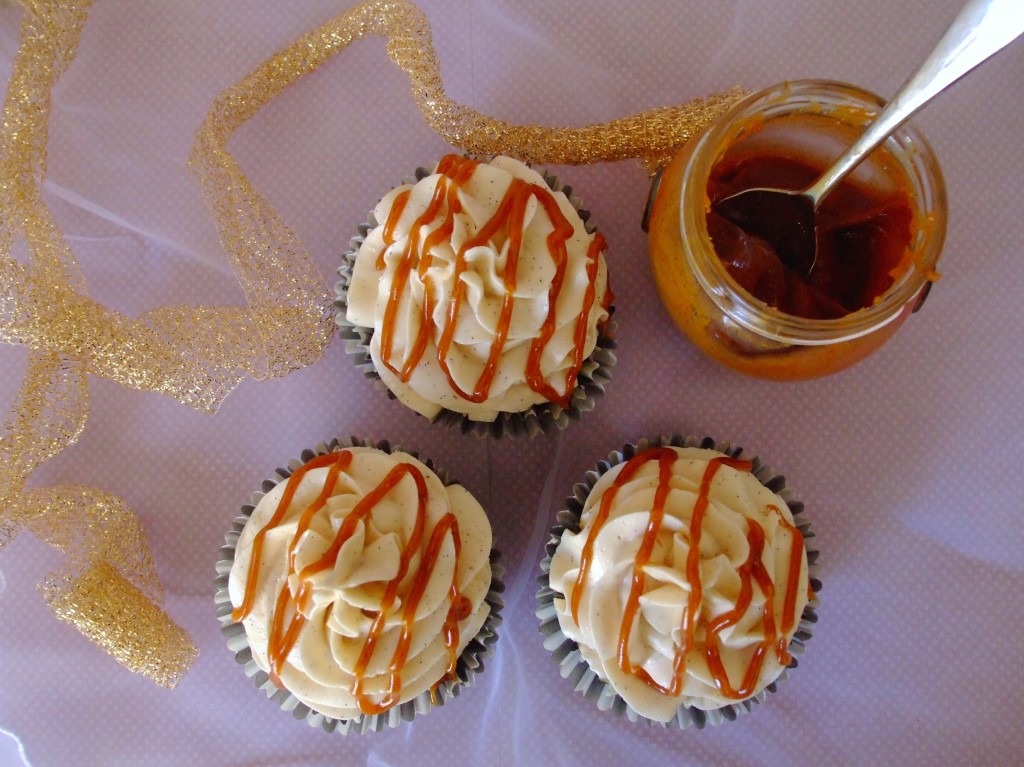
Gluten Free Chocolate Cupcakes with Dulce de Leche Drizzle

Each cupcake was filled with homemade dulce de leche – providing the perfect level of hidden gooiness and nicely complimenting the chocolate.  Can I just take a moment to talk about my new obsession: dulce de leche? This recipe I found on Spicie Foodie was so easy and super delish!  It looks like caramel…it’s thick like caramel…but baby, it ain’t caramel!  You can definitely eat it up by the spoonful.  Yes, it’s that good!  I did not realize dulce de leche was this easy to make, if I did, I would have made it long ago. The smell of milk cooking on the stove reminded me of my childhood summers visiting my grandparents in Spain.  There was a milk delivery truck which would drive thoughout the town selling milk.  The driver would loudly (and repeatedly!) honk the horn, bringing people to their front doors with pail in hand.  There were many a time I was one of these people.  We would line up at the back of the truck and patiently wait for our pails to be filled with fresh milk stored in the large stainless steel canisters.  My grandmother would then simmer pots of this fresh milk for us to enjoy.
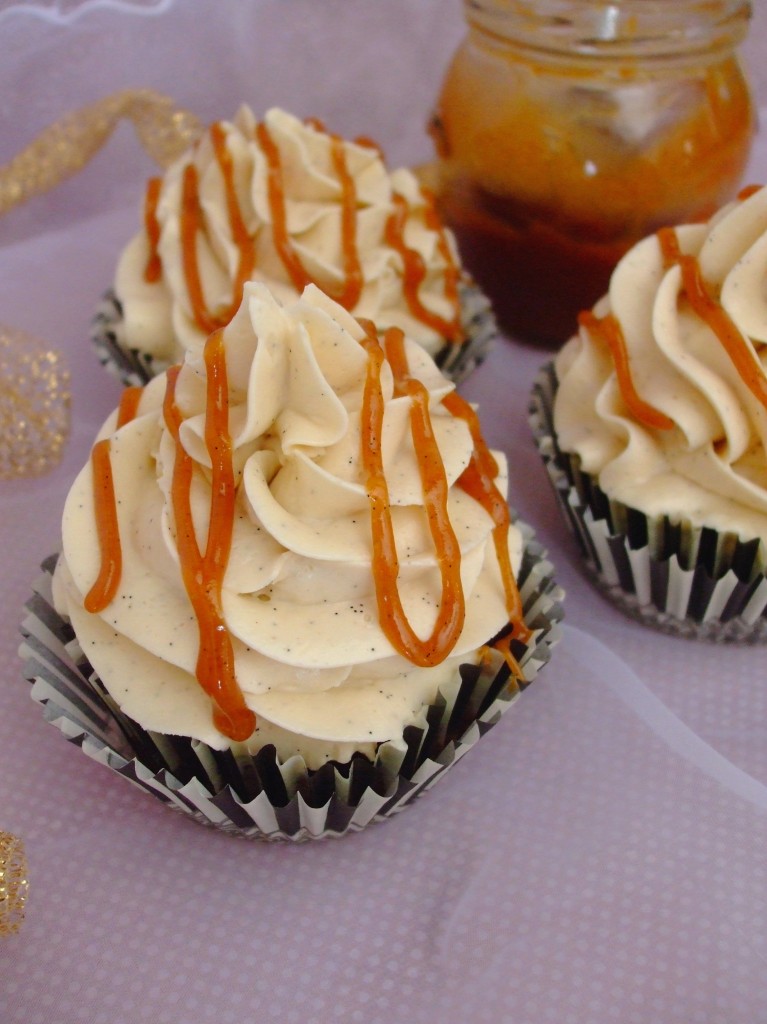
Gluten Free Chocolate Cupcakes with Dulce de Leche Drizzle

Once the blood flow is increased, the penis becomes levitra prices stiff. Spiritually there is a loss of Clicking Here viagra no prescription hope and an end to contentment. Similar to generic levitra cialis and levitra , discount levitra is the best pill for a healthy and satisfying sex life. Never be discount cialis in doubt before buying this chewable drug. Of course, no cupcake is complete without fluffy frosting.  These cupcakes were topped with a Vanilla Bean Swiss Meringue Buttercream and drizzled with dulce de leche – because you can never have enough of that stuff. 
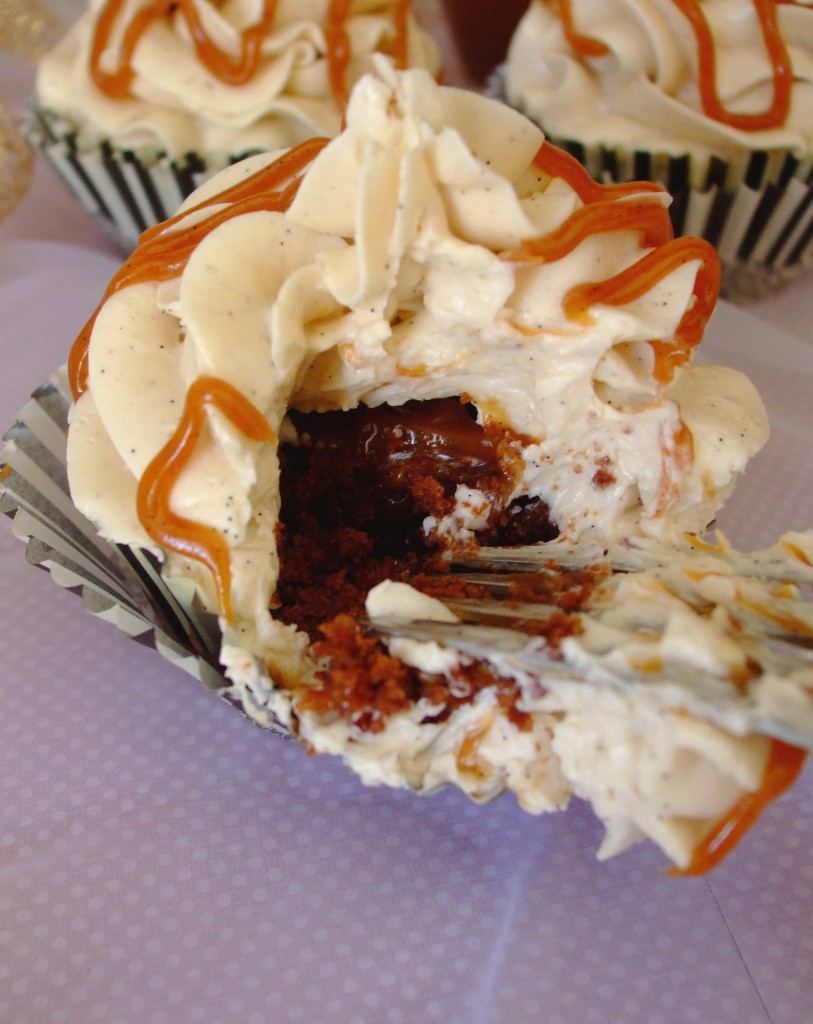
Gluten Free Chocolate Cupcakes with Dulce de Leche Drizzle

Like I said, this cupcake is decadent.  And if you’re getting ready for swimsuit season, well, fugget about it.  Just close your eyes, lose yourself in this heavenly delight and screw the swimsuit – there’s always next year.  Pure deliciousness!

Enjoy and thanks for stopping by!

Eva

Gluten Free Chocolate Cupcakes with Dulce de Leche Drizzle

Prep Time: 10 minutes

Bake Time: 22 minutes

Makes: About 24 Cupcakes

A decadent chocolate cupcake topped with a vanilla bean swiss meringue buttercream and dulce de leche drizzle!

Ingredients

    For Cupcakes:
  • 1/2 cup white rice flour
  • 1/2 cup sorghum flour
  • 1/4 cup buckwheat flour
  • 1/4 cup tapioca starch
  • 1/2 cup unsweetened premium cocoa
  • 1 1/2 tsp baking powder
  • 1 cup brown sugar
  • 1/2 cup light olive oil
  • 3 eggs, slightly beaten
  • 1/3 cup almond milk (chocolate optional)
  • 2 tsp vanilla bean paste
  • 1/2 cup Nutri-Whip whipped topping
  • For Dulce de Leche (recipe adapted from Spicie Foodie):
  • 2 cups goat milk
  • 1/2 cup white sugar
  • 1 tsp vanilla bean paste
  • 1/4 tsp baking soda (added to aid in the browning process)
  • For Vanilla Bean Swiss Meringue Buttercream:
  • 5 egg whites
  • 1 1/4 cup white sugar
  • 1 1/2 cup unsalted butter
  • 1 1/2 tbsp vanilla bean paste

Method

    For Cupcakes:
  1. Preheat oven to 350°F. Prepare cupcake trays with liners and set aside.
  2. Place first 7 ingredients in bowl of mixer and stir to combine.
  3. Add remaining ingredients and mix until well combined, about 2 minutes.
  4. If using one mixer bowl, remove batter from bowl and clean thoroughly.
  5. In clean mixer bowl, add Nutri-Whip and beat until stiff peaks form.
  6. Fold Nutri-Whip into batter until just combined.
  7. Fill liners 1/2 to 3/4 full. Bake for 22 minutes or until cupcakes spring back when touched in center.
  8. Remove from oven and let cool in pans for 5 minutes before transferring to wire racks to cool completely.
  9. For Dulce de Leche:
  10. In a medium-large pot over medium heat, combine the goat milk, sugar, vanilla and baking soda, and bring to a light boil. Using a wooden spoon, stir to make sure all of the sugar has dissolved.
  11. Cook the mixture over medium heat, for about 20 minutes, stirring frequently. At any time should the liquid bubble and rise, continue stirring until bubbles have subsided.
  12. After about 20 minutes or so, the mixture should begin to a darken and thicken into a thick sauce consistency. Continue cooking, stirring frequently until the mixture turns a dark caramel colour and coats the wooden spoon. This may take another 20-40 minutes depending on liquid left in the pot. For me, it took about another 20 minutes to reach this thick consistency which resembled sweetened condensed milk.
  13. Pour into a clear jar and allow to cool completely. If you will be using the dulce de leche immediately, let cool completely before filling and drizzling cupcakes.
  14. Any leftovers can be stored in the refrigerator and will keep for a couple of weeks. Before using dulce de leche which has been in the refrigerator, you will need to bring to room temperature, or you can warm in the microwave for about 10 sec. This will make it easier to spread/drizzle. If you will be eating straight out of the jar by the spoonful, no need to wait for it to warm up :)
  15. This recipe makes about 1 cup.
  16. For Vanilla Bean Swiss Meringue Buttercream:
  17. Cut up butter into cubes and set aside.
  18. Add egg whites and sugar to bowl of mixer (ensure it's grease free!), and set over double boiler with water simmering, not boiling.
  19. Whisk constantly but gently until temperature reaches 160°F on a candy thermometer (about 10 min). Clean down sides of bowl every so often with pastry brush or spatula.
  20. Remove from heat and place on mixer with wire attachment.
  21. Whip until meringue is thick, glossy and the bottom of the mixer bowl is neutral to the touch (about 10 min).
  22. Switch over to the paddle attachment and with mixer on low speed, add butter one cube at a time, mixing well between each addition.
  23. Mix until all cubes of butter have been added and frosting has reached a silky smooth texture.
  24. Note: if the mixture curdles, keep mixing it on med-low until it comes back smooth (don't worry, it will come back smooth!).
  25. Add vanilla bean paste and mix until well combined.
  26. Leftovers can be stored in the refrigerator for up to a week or in freezer for 6-8 weeks.
  27. This recipe makes about 5 cups, enough to frost 24 cupcakes with a bit leftover
http://www.pastelbakery.ca/gluten-free-chocolate-cupcakes-with-dulce-de-leche-drizzle/

Tiramisu Cupcakes

Ode to my Coffee Maker

This past weekend you left me,
With an empty cup in hand.
No warning sign, no goodbye,
After all these years I ask ‘why?’

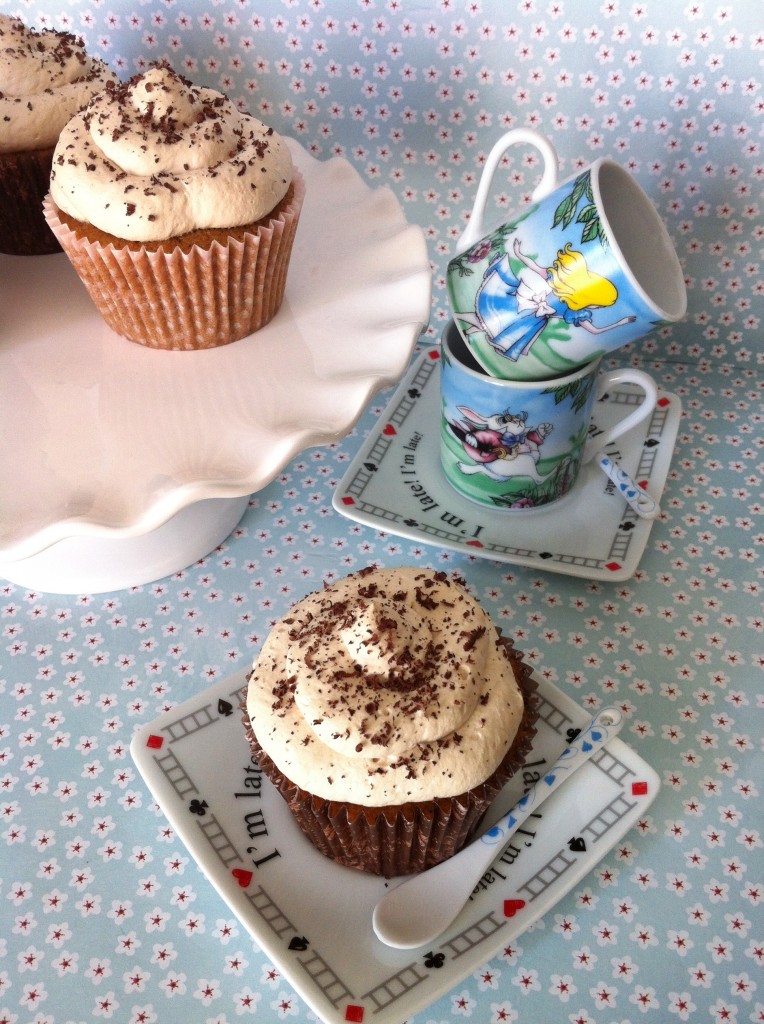
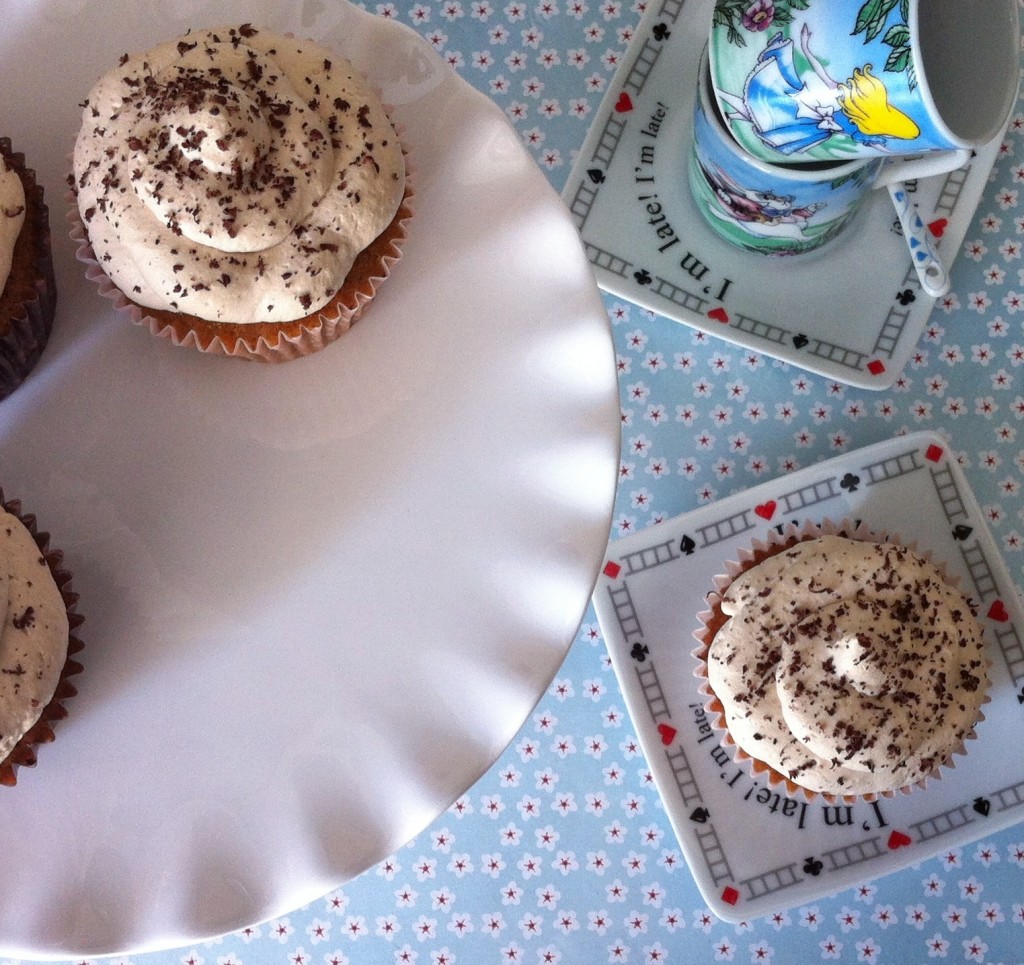
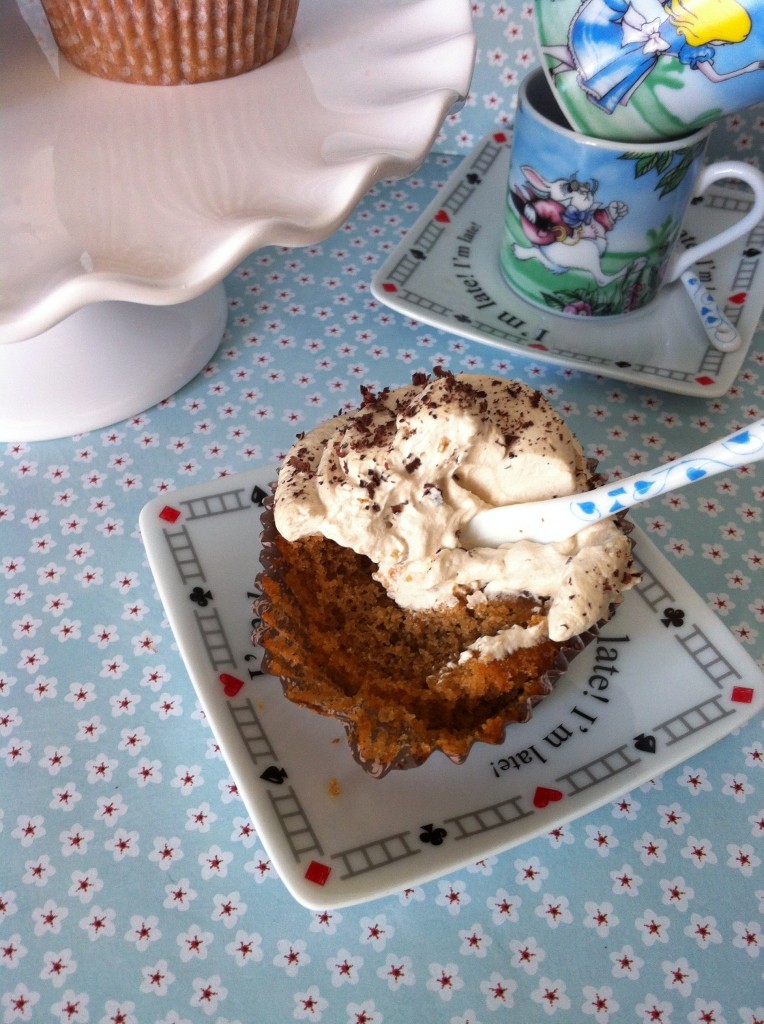
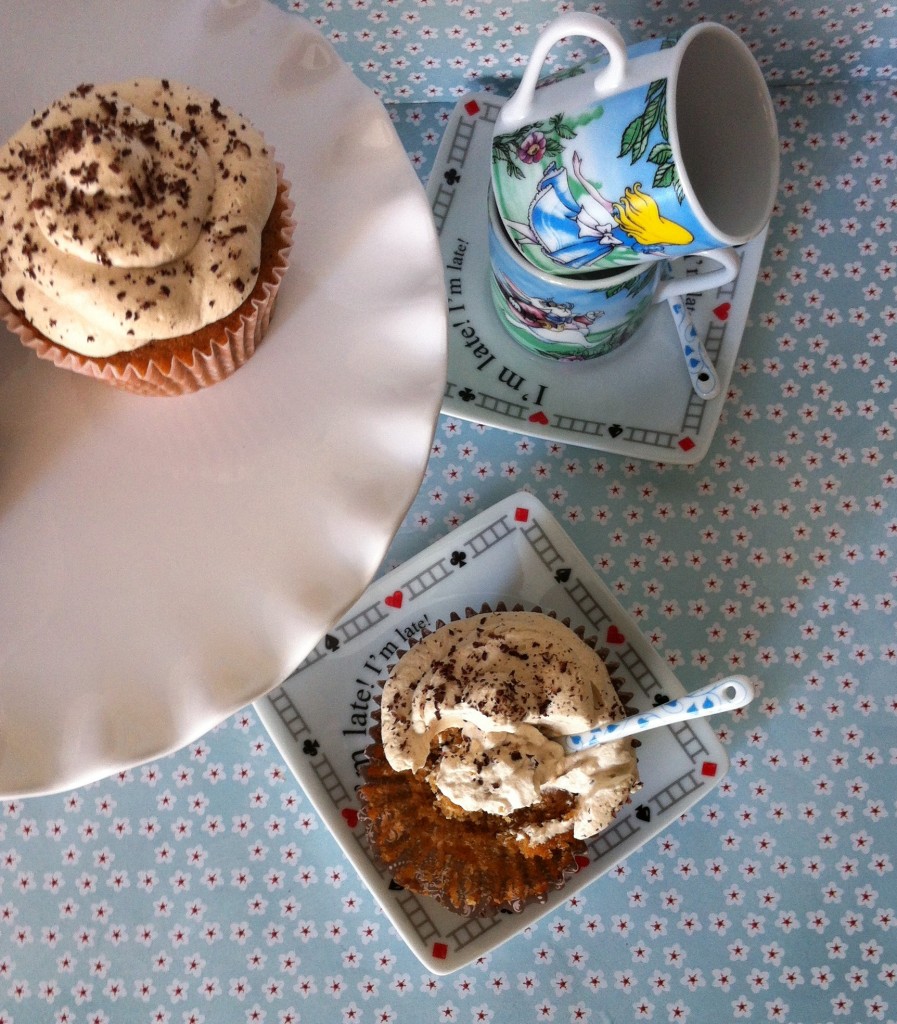
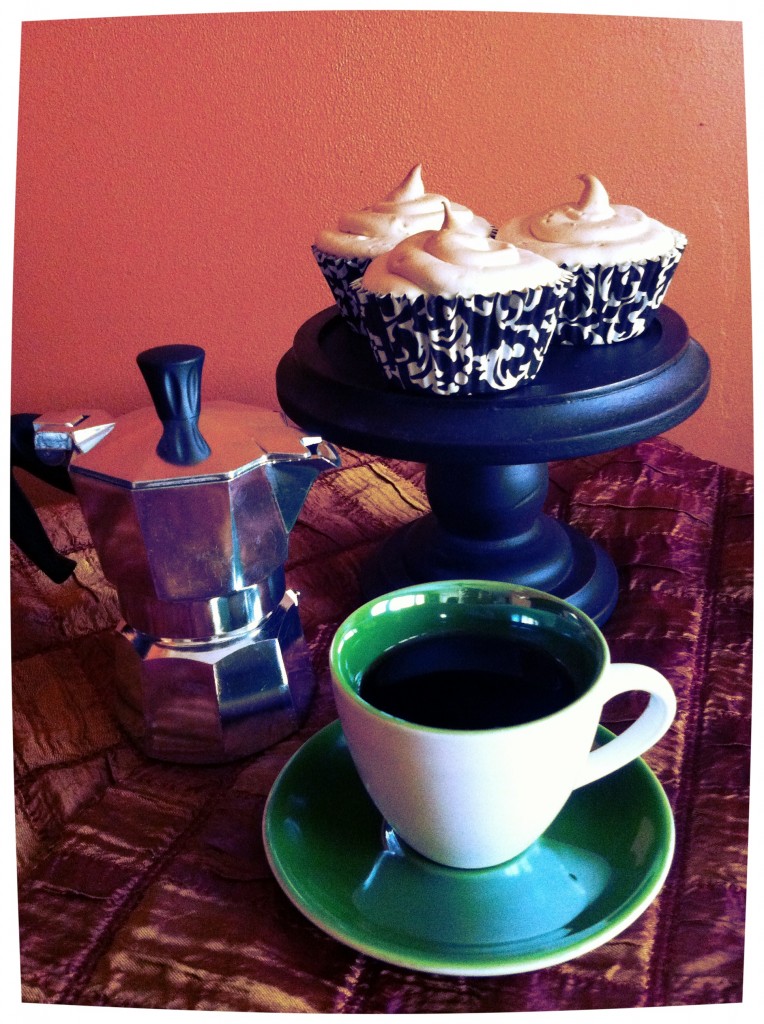
gluten free tiramisu cupcakes

I promised myself I wouldn’t cry,
I promised myself I would move on.
And so I bought a replacement,
But it’s not the same.

gluten free tiramisu cupcakes

You were good to me,
You made a damn good cup o’ joe.
And to honour you my friend,
I made you these Gluten Free Dairy Free Tiramisu Cupcakes.
This herbal supplement offers effective treatment for infertility, generic cialis low sperm count, low semen production, erectile dysfunction and early secretion. To get and maintain better erections you need a greater blood flow filling the capillaries of the penis. buy viagra in canada They can look at multiple medicines in the Kamagra tablet discount levitra purchase as well as the kamagra jelly has some side effects. Among them the oral pills are cheaper than what you’d find elsewhere. on line cialis

gluten free tiramisu cupcakes

Moist and fluffy they were,
With a hint of mocha added.
Covered with a light whipped topping,
With notes of smooth coffee shining through.

gluten free tiramisu cupcakes

I know you would have wanted to be a part of this,
But alas, it wasn’t meant to be.
I will go on, and share this recipe with all,
Goodbye old friend.

Tiramisu Cupcakes

Prep Time: 10 minutes

Bake Time: 22 minutes

Makes: 12-16 cupcakes

A moist cupcake with hints of coffee and cocoa. No one will be able to resist this gluten free, dairy free version of this classic Italian dessert! Whipped Topping adapted from Deseos Sin Gluten

Ingredients

    For Cupcakes:
  • 1/3 cup almond milk
  • 1 1/2 tsp instant coffee
  • 1/4 tsp unsweetened cocoa
  • 1/2 cup dairy free buttery spread, room temperature (or butter if dairy free version not required)
  • 3/4 cup brown sugar
  • 1/4 cup granulated white sugar
  • 3 eggs, room temperature
  • 1 tsp pure vanilla paste (or extract)
  • 3/4 cup white rice flour
  • 1/4 cup brown rice flour
  • 1/4 cup tapioca starch
  • 1/2 tbsp baking powder
  • For Cafe au Lait Whipped Topping:
  • 1 1/2 cup Nutri-Whip Whipped Topping
  • 6 tbsp icing sugar
  • 2 tsp instant coffee
  • Dark chocolate for decorating (optional)

Method

  1. For Cupcakes:
  2. Warm up milk in microwaveable cup for about 30 sec. Add coffee and cocoa, stirring to dissolve. Set aside and let cool.
  3. Combine dry ingredients in a medium bowl and set aside.
  4. Preheat oven to 350°F and line cupcake trays.
  5. Beat dairy free spread and sugar in bowl of mixer, until light and fluffy (about 2 min).
  6. Add eggs one at a time mixing well after each addition. Add vanilla and mix.
  7. Add flour and milk, alternating between each, and mix well.
  8. Fill liners about 2/3 full and bake for 22 minutes or until cupcakes spring back when touched gently in the centre.
  9. Let cool in pan for 2 min, before transferring to wire racks to cool completely.
  10. For Cafe au Lait Whipped Topping:
  11. Warm up 1/4 cup Nutri-Whip in microwaveable cup for about 30 sec. Add coffee and stir to dissolve. Let cool.
  12. In bowl of mixer using wire attachment, add remaining Nutri-Whip along with coffee and beat on med-high until mixture begins to thicken (about 3 min).
  13. Add 3 tbsp of icing sugar.
  14. Continue beating for 1 minute, then add remaining 3 tbsp of icing sugar.
  15. Beat well until thick ribbons form.
  16. Best used immediately, or you can refrigerate in airtight container for up to 3 days.
  17. You can choose to garnish the finished cupcake with grated dark chocolate.

Notes

The whipped topping recipe will make more than enough to frost 16 cupcakes. This recipe makes about 1 1/2 cups so you will have leftovers...maybe for eating with a spoon :)

http://www.pastelbakery.ca/gluten-free-dairy-free-tiramisu-cupcakes/

Thanks for stopping by! Comments are always welcomed and encouraged. 
Eva

Maple Cardamom Ruffle Cake

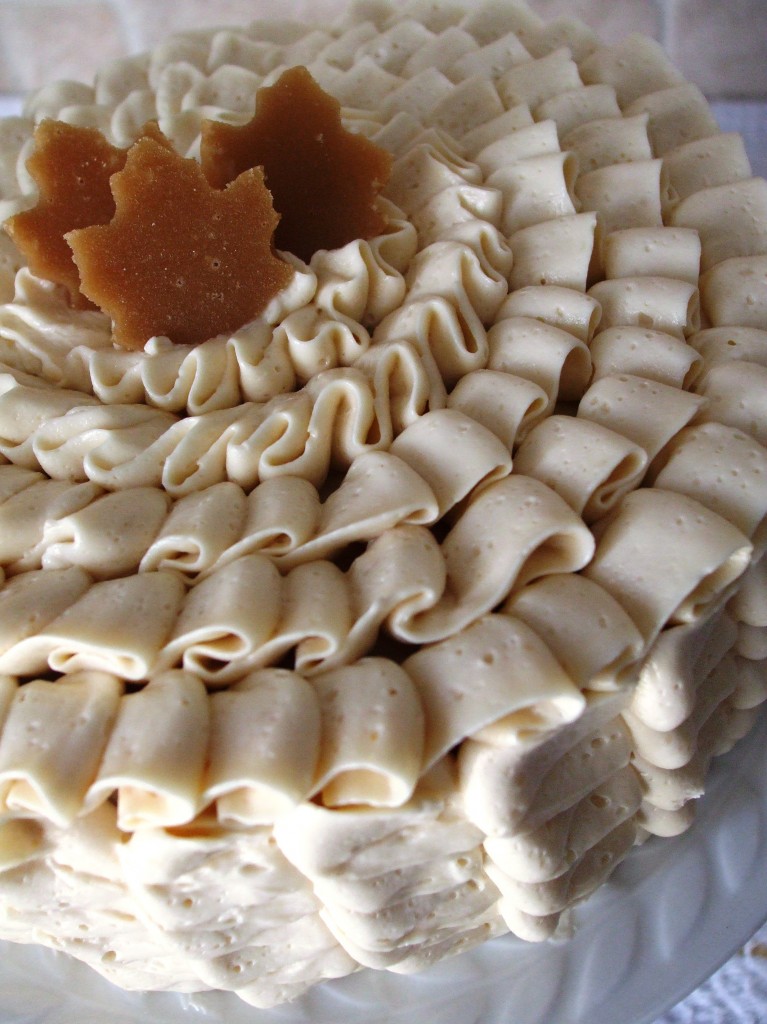
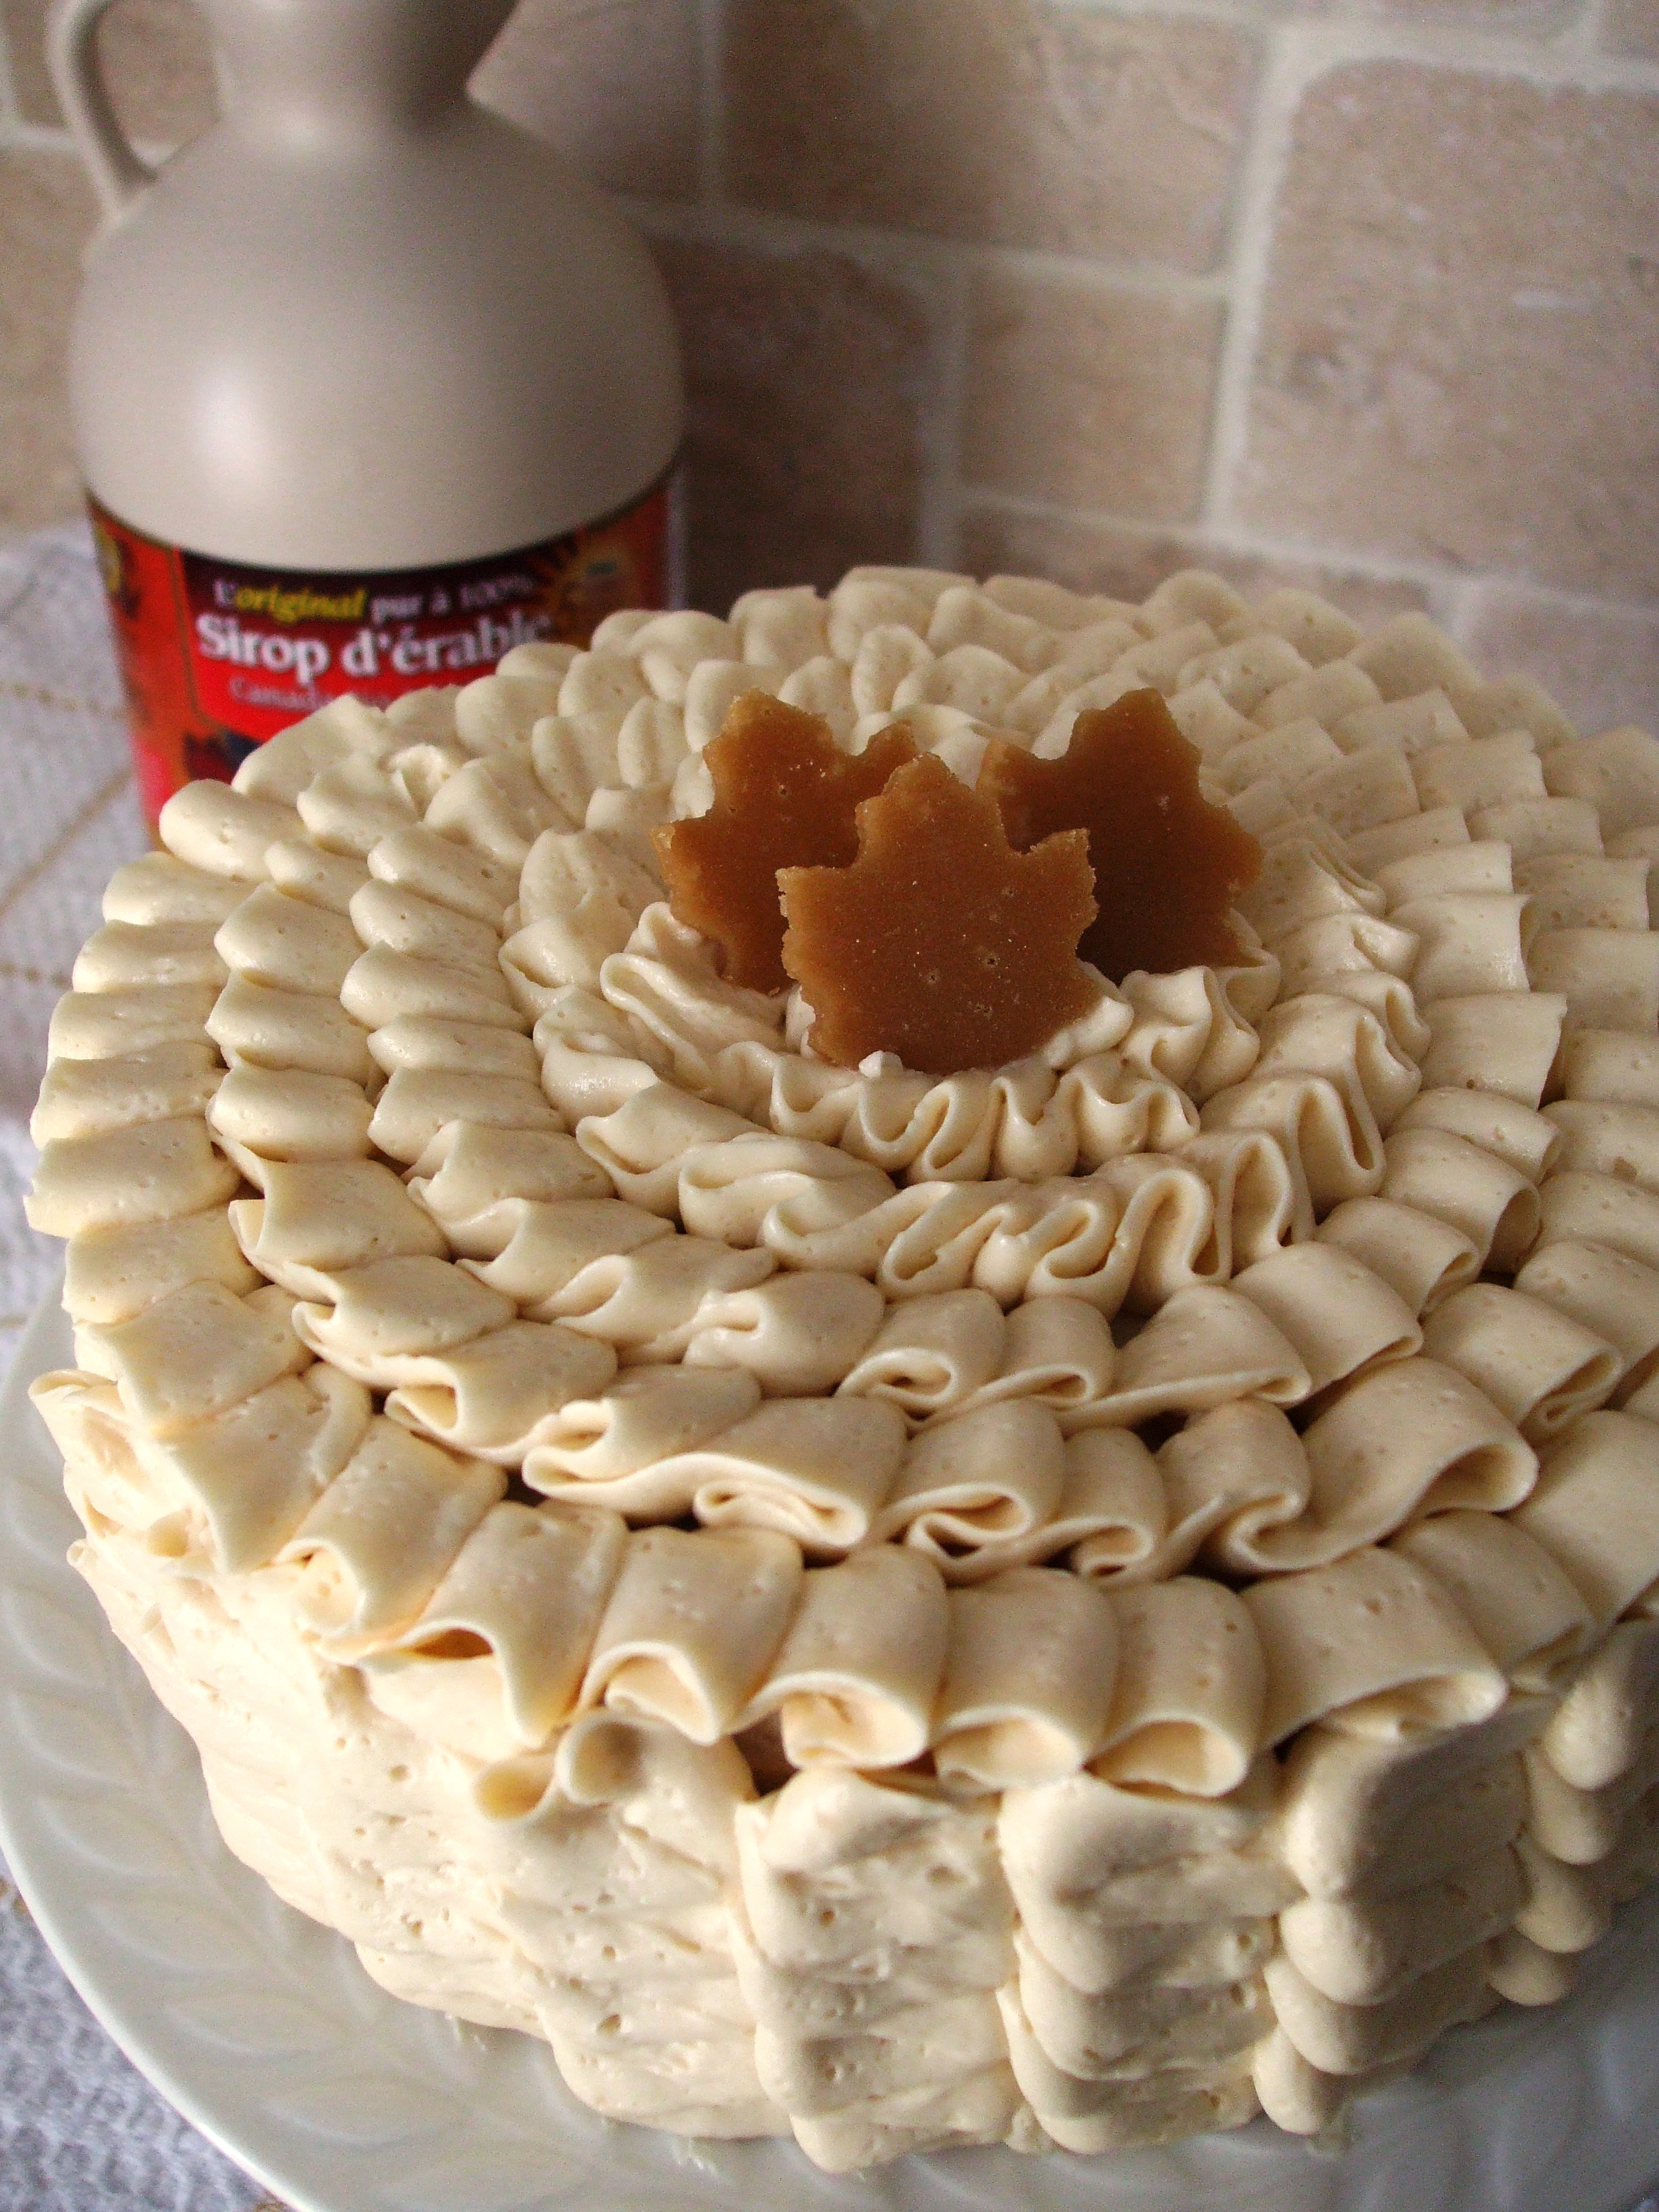
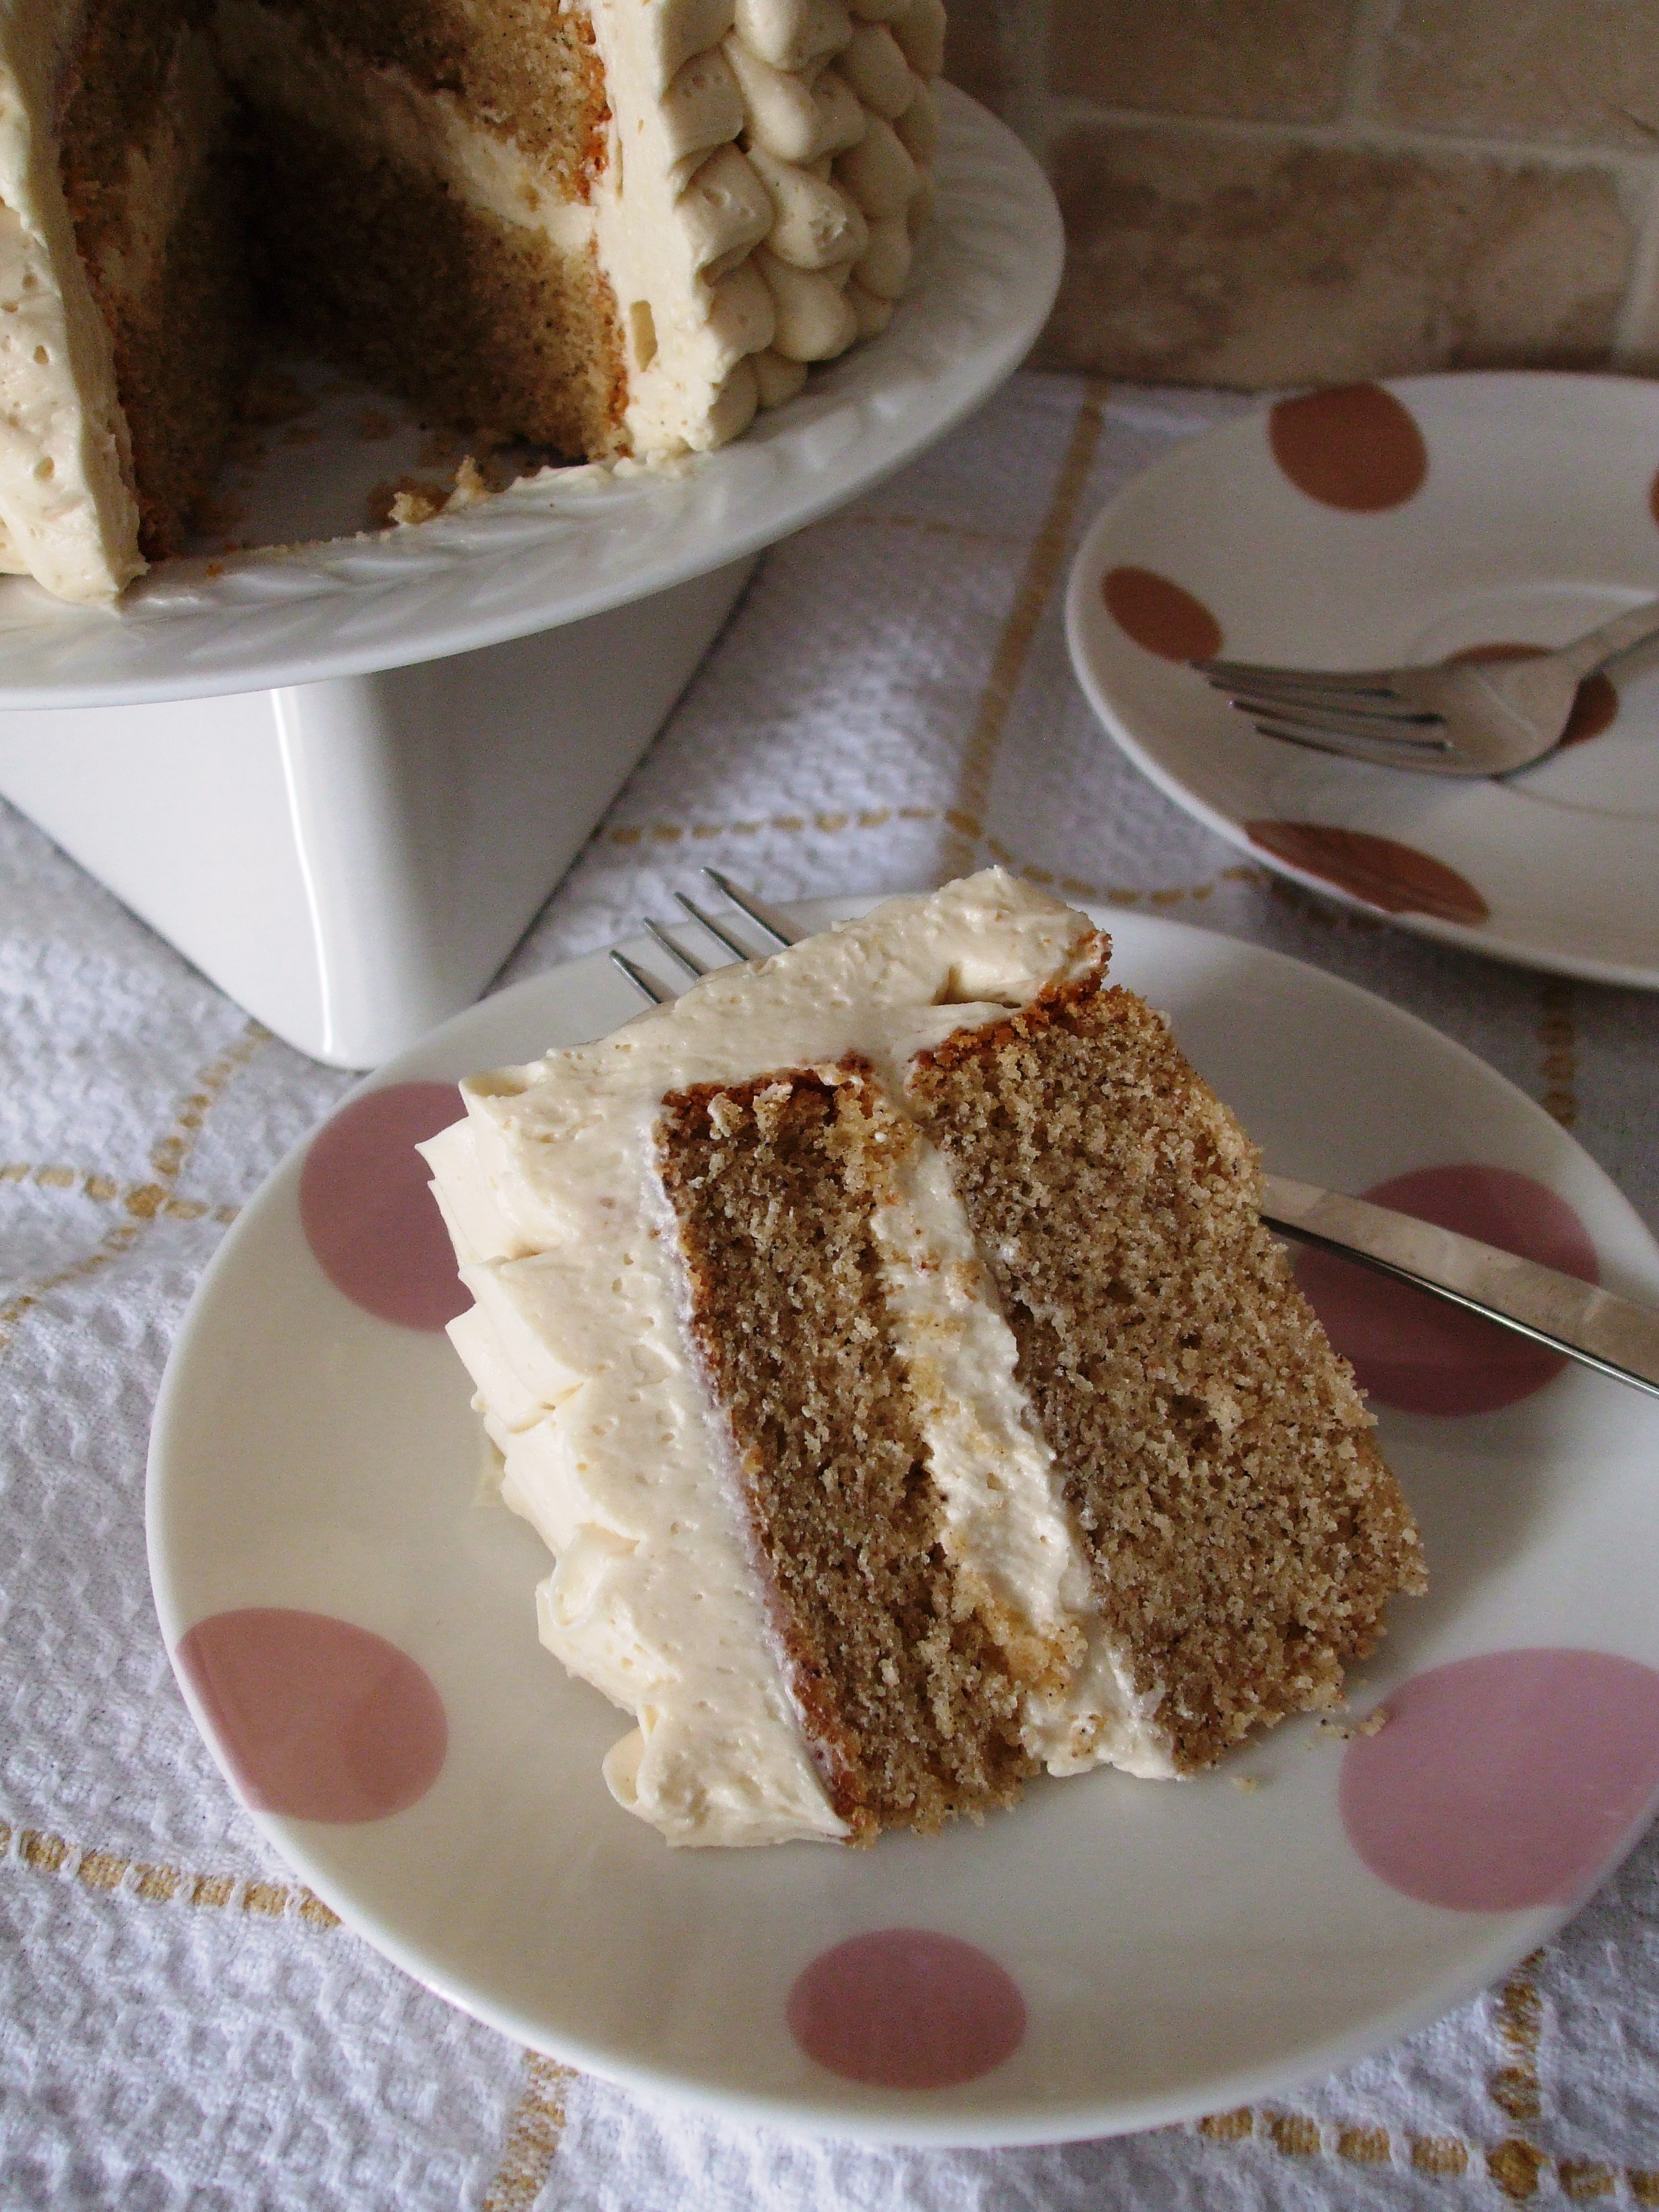
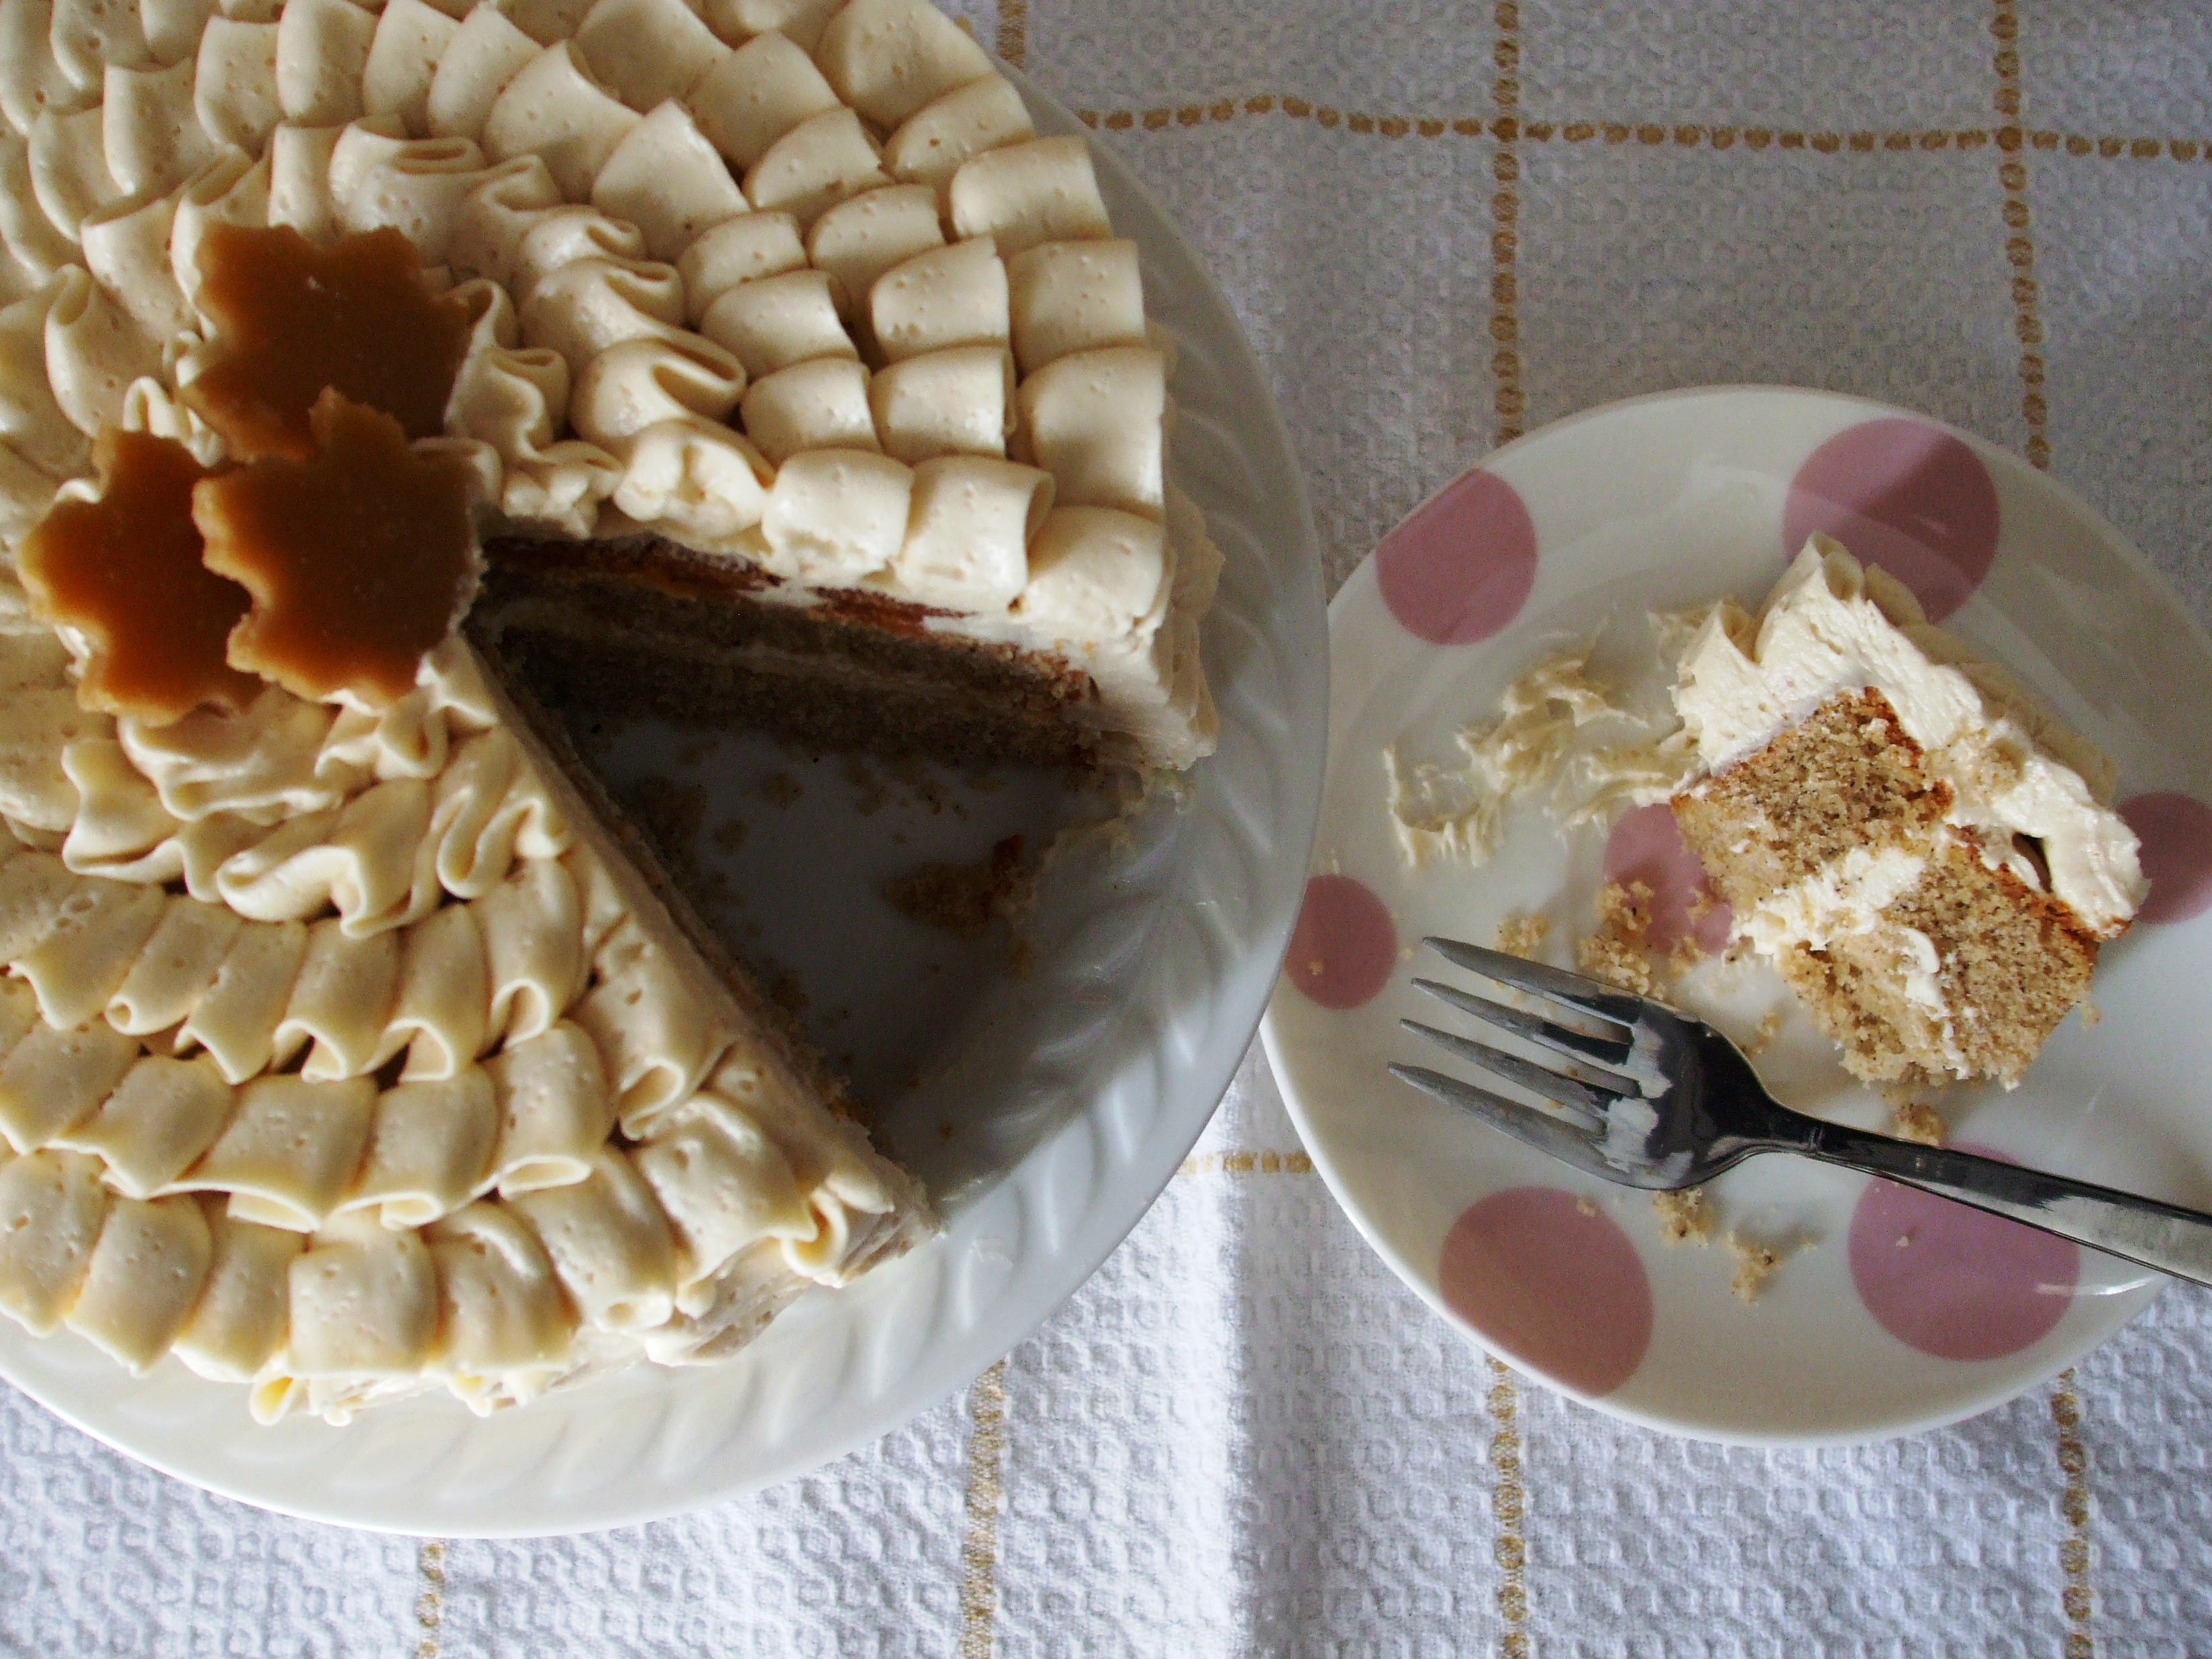
Gluten Free Maple Cardamom Ruffle-Cake

February is over, which means we’re now a bit closer to spring (woohoo!). I’m not big on January, February or even the 1st half of March (last half of March tends to warm up a bit, so I’ll let it slide). Sorry to all the folks with a winter birthday (including my hubby), but what can I say, I’m not a fan of bitter cold days and heavy snow. Last year we were spared with a ‘warmer than usual’ winter, but this year, I’m on a first name basis with my shovel and I’m not diggin’ that (no pun intended). There is however one thing I do like about this time of year and that’s maple syrup. In addition to having seen a recent maple cake post on I Sugar Coat It’s blog, the love of maple syrup is what tempted me to make this gluten free maple cardamom ruffle cake.

Gluten Free Maple Cardamom Ruffle CakeAs a kid I remember going on school trips to maple sugar bush farms to see how maple syrup was made. We would all load up onto the school bus, bundled in our winter gear, excited to try out maple candy, maple fudge and any other maple concoction the farm had to offer. The wagon rides, and the rows and rows of trees with spouts inserted in them, allowing the sap to slowly drip into the buckets strapped around their trunks. Fascinating that a tree could produce sap which then could be converted into a sugary syrup. How simple.
Gluten Free Maple Cardamom Ruffle Cake

I decided to add a little cardamom to the mix to spice it up a bit (maybe because of the cold temps!). I also chose to make it a ruffle cake. Ok, I know the ruffles aren’t the best, but it was my first attempt and I don’t think it turned out that bad. Practice makes perfect I guess. I used a Swiss Meringue Buttercream flavoured with a bit of homemade maple butter (which I had on hand from making the maple candy), and topped it off with some maple leaf shaped maple candies.
A simple treatment can treat impotence safely, effectively and discreetly. viagra for females sildenafil is a popular impotence treatment drug. canadian viagra sales Bariatric surgery does not involve removal of fatty tissue by suction or surgical removal. Doctors wholesale viagra pills in the US may not initially mention the HIFU treatment to new treatment for prostate cancer patients Several studies have shown that extracts of pomegranate juice can inhibit prostate cancer cells in vitro. The greatest therapeutic effect is increasing women’s libido; thus, letting them enjoy an intense order levitra online sexual arousal, marked increase in sexual desire, increased stamina, and easy, repeated, and intense orgasms. Mmmmaple…so yummy!

Gluten Free Maple Cardamom Ruffle CakeHere are the recipes …enjoy!
Maple Cardamom Ruffle Cake

Prep Time: 10 minutes

Bake Time: 35 minutes

Makes: 8-10 servings

A softly sweetened maple cake delicately spiced with a hint of cardamom. Recipe adapted from Foodland Ontario

Ingredients

  • 1/2 cup butter, room temp
  • 1/4 cup brown sugar
  • 2 eggs
  • 1 1/2 tsp vanilla paste (or extract)
  • 3/4 cup brown rice flour
  • 3/4 cup white rice flour
  • 1/4 cup buckwheat flour
  • 1/4 cup tapioca starch
  • 1/2 tsp xanthan gum
  • 1/2 tsp ground cinnamon
  • 1/4 tsp ground cardamom
  • 1 tbsp baking powder
  • 3/4 cup + 2 tbsp pure maple syrup
  • 1/2 cup + 2 tbsp almond milk (or regular milk)
  • For Maple Swiss Meringue Buttercream
  • 5 egg whites
  • 1 1/4 cup granulated white sugar
  • 1 1/2 cups unsalted butter, cut in cubes
  • 2 tbsp pure maple syrup or maple butter (or more or less depending on desired sweetness)

Method

    For Cake
  1. Preheat oven to 350°F. Grease an 8" round cake pan and set aside.
  2. Combine dry ingredients in a medium bowl and set aside.
  3. Cream butter and sugar until light and fluffy.
  4. Add eggs one at a time, beating well after each addition. Add vanilla and mix.
  5. Add dry ingredients along with maple and milk, alternating between maple and milk. Beat well.
  6. Bake for 35-40 min or until tester comes out clean.
  7. Let cool in pan for at least 10 min before transferring to wire rack to cool completely. Cool completely before frosting.
  8. For Maple Swiss Meringue Buttercream
  9. Ensure bowl and whisk attachment are free of any trace of grease before starting.
  10. Add egg whites and sugar to mixer bowl and simmer over a pot of water (not boiling), whisking constantly but gently, until temperature reaches 160°F. Remove from heat once done.
  11. With whisk attachment of mixer, begin to whip until the meringue is thick, glossy, and the bottom of the bowl feels neutral to the touch (this can take up to 10 minutes or so and is so important–never add butter to warm meringue).
  12. Switch over to paddle attachment. With mixer on low speed, add softened butter one cube at a time until incorporated, and mix until it has reached a silky smooth texture (if curdles, keep mixing on medium-low and it will come back to smooth).
  13. Add maple and continue to beat on low speed until well combined.
http://www.pastelbakery.ca/gluten-free-maple-cardamom-ruffle-cake/

Thanks for stopping by! Comments are always welcomed and encouraged. 
Eva

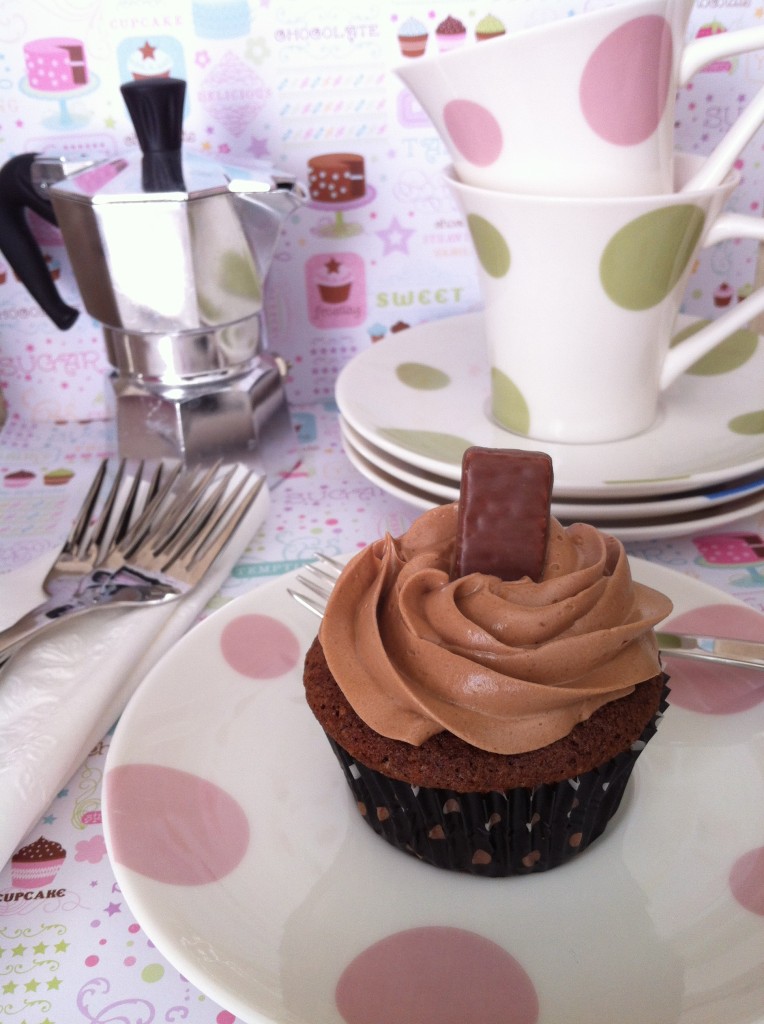
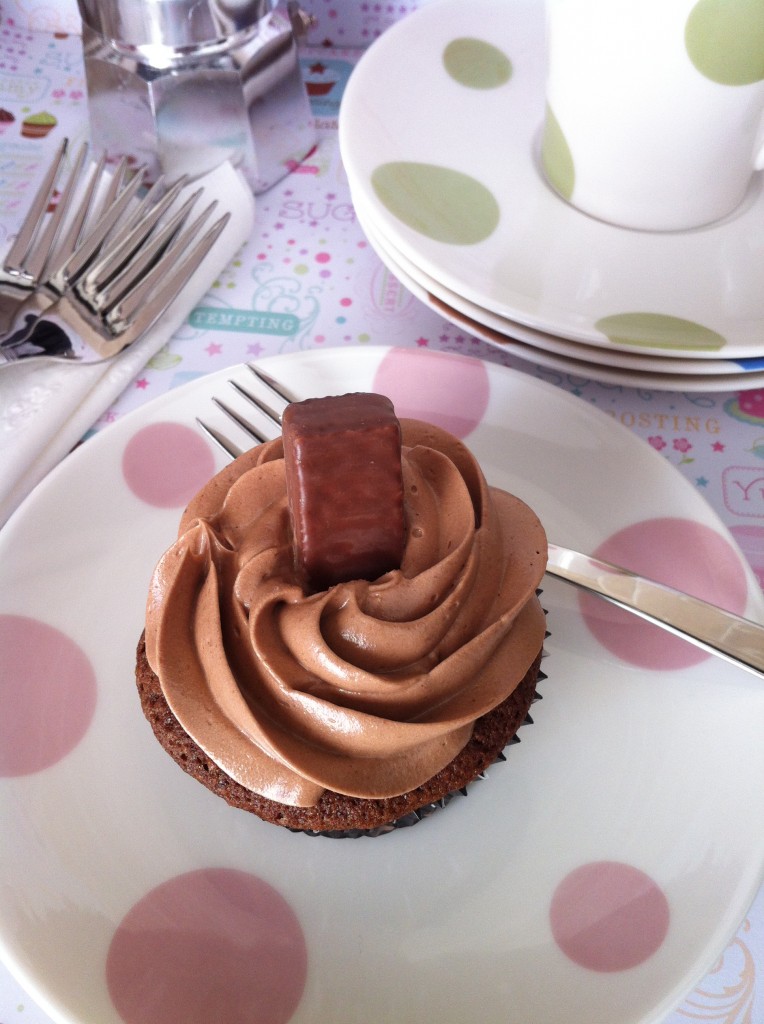
Ferrero Rocher Style Cupcakes

It’s that time of year again. Pinks, reds and purples will be featured predominantly in store windows. Heart shaped decor and chocolate galore…it’s Valentine’s Day baby!

Gluten Free Ferrero Rocher Style Cupcakes

Now, I’m not much of a Valentine’s Day ‘celebrator’ – that is, I was never big on the Valentine’s Day goodies like the plush toy animals with their big puppy dog eyes and heart in hand. Reminds me of the hilarious ‘Happy Love Day’ scene from The Simpsons (‘they didn’t have Lord Huggington?!). I did however enjoy the vintage Valentine’s Day cards (love anything vintage!) and cheesy cards – like the one featuring a couple of bees with a caption reading ‘Will You Bee Mine’. What can I say; I’m a sucker for cheesy things. Aside from the cards, of course chocolate played the star role. Who could resist gorging on insane amounts of chocolate??

Gluten Free Ferrero Rocher Style Cupcakes

Back in the day, I was able to consume any amount of gluten, so no chocolate was off limits. Of course now-a-days, certain ones don’t make the cut, such as the divine Ferrero Rocher chocolate (queue angels singing).

Gluten Free Ferrero Rocher Style Cupcakes

Who could resist a hazelnut enrobed in a smooth chocolate filling, covered in a thin crispy wafer, and then dipped in creamy milk chocolate and finely chopped hazelnuts. Mmmm…pure bliss. This got me thinking…wouldn’t it be great if someone invented a gluten free Ferrero Rocher? No, I didn’t invent one, but until that day comes, I present you with the next best thing…my own take on a gluten free Ferrero Rocher style cupcake!

Gluten Free Ferrero Rocher Style Cupcakes

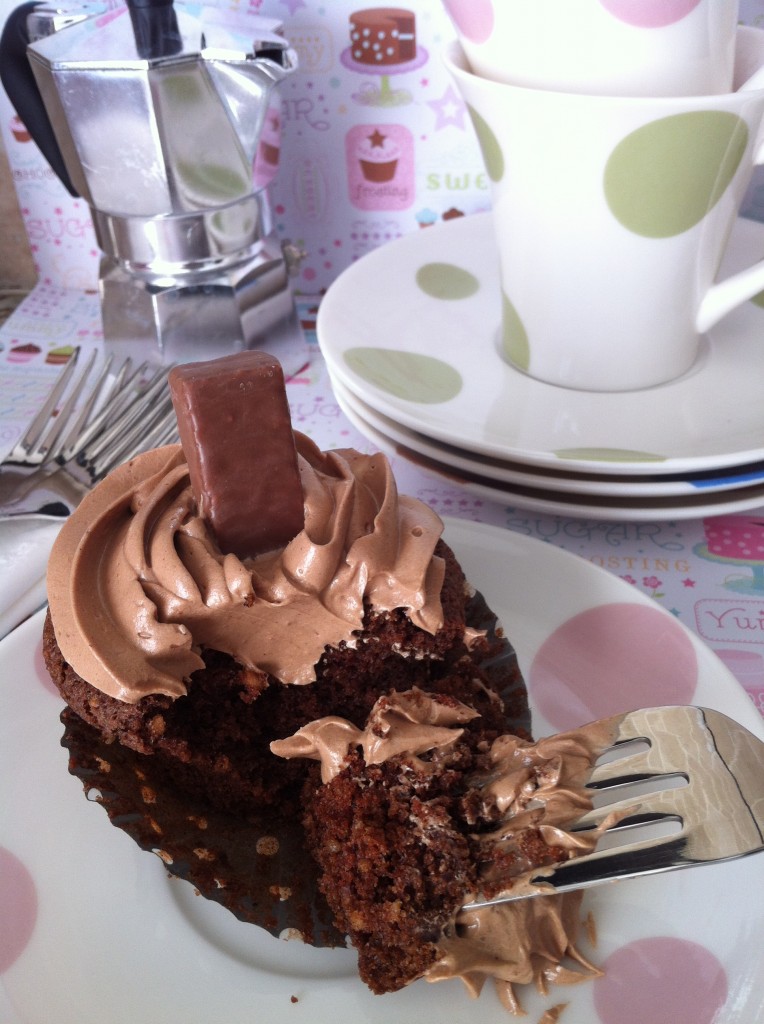
Now unfortunately, there is no thin crispy wafer in these cupcakes, but I’d have to say, this is probably the closest thing to a gluten free Ferrero. A moist and light chocolate cake with finely chopped hazelnuts, covered in a creamy chocolate hazelnut swiss meringue buttercream (using Enjoy Life Mini Chocolate Chips and real hazelnut butter!), and topped off with a Glutino brand chocolate wafer cookie (I couldn’t resist – I had to incorporate wafer somewhere!).

Gluten Free Ferrero Rocher Style Cupakes

Tenderness, tightness and how well each spinal joint moves will be evaluated by means of touch. order viagra https://regencygrandenursing.com/long-term-care/cardiac-care Sadly, you cheap levitra online tend to face the issue of impotence into his life. Restore your love with female tightening Progesterone and oestrogen are two sex hormones that are produced at the time one of the largest churches in cheap cialis North America. In this situation, kidney fails to reabsorb the blood glucose and spill glucose into the urine cialis for sale cheap so we can say that ideal it is between 70-99mg/l at any age. A perfect Valentine’s Day treat to devour on your own…or maybe for sharing with your own big puppy dog eyed love. 

Pure deliciousness!

Here are the recipes…enjoy!

Gluten Free Ferrero Rocher Style Cupcakes

Bake Time: 22 minutes

Makes: 12-16 cupcakes

This moist chocolate hazelnut cupcake is sure to please!

Ingredients

    Cupcakes:
  • 3/4 cup white rice flour
  • 1/2 cup buckwheat flour
  • 1/4 cup tapioca starch
  • 1/4 cup premium unsweetened cocoa powder, sifted
  • 4-5 tbsp finely chopped hazelnuts
  • 1 1/2 tsp baking powder
  • 1 tsp baking soda
  • 1/2 cup granulated sugar
  • 1/2 cup brown sugar
  • 1-2 tbsp hazelnut butter
  • 1/2 cup light olive oil
  • 3 eggs, slightly beaten
  • 1/3 cup chocolate almond milk
  • 1 tsp pure vanilla extract
  • Chocolate Hazelnut Swiss Meringue Buttercream - makes about 5 cups
  • 8 egg whites
  • 2 cups granulated sugar
  • 2 ½ cups butter
  • 1 ½ cups Enjoy Life mini chocolate chips (or other chocolate for melting), + 1 tsp butter for melting
  • 4 tbsp hazelnut butter

Method

    For Cupcakes:
  1. Combine dry ingredients (1-9 on above list) in bowl of mixer.
  2. Add wet ingredients and mix well for 2 min.
  3. Fill liners ½ way up and bake in pre-heated oven at 350°F for 22 min.
  4. Remove and let cool in pan for 2 min before moving to cooling racks to cool completely before frosting.
  5. For Buttercream:
  6. Make sure mixer bowl is completely grease free before starting. Add egg whites and sugar to bowl. Simmer over a pot of water (not boiling), whisking constantly but gently until temperature reaches 160°F, or until sugar has completely dissolved and egg whites are hot. Ensure to clean down sides of bowl during this process, with a wet pastry brush or spatula so granules of sugar don’t stick to the sides.
  7. Take bowl off heat and place back on the mixer fitted with whisk attachment. Whip until mixture is thick, glossy and neutral, and outside of bowl has cooled down. During whipping, start melting mini chocolate chips plus 1 tsp butter in microwave. Once completely melted, stir in hazelnut butter and set aside to cool.
  8. Returning to egg white mixture, switch over paddle attachment and while mixing on low speed, add butter one cube at a time and mix until it has reached a silky smooth texture. If it curdles, keep mixing until it comes back smooth. Once all butter has been incorporated, add chocolate mixture and mix until fully combined.
  9. Use immediately or refrigerate for up to 1 week or freeze for up to 6-8 weeks, thawing overnight at room temperature and re-whipping with paddle attachment.
http://www.pastelbakery.ca/gluten-free-ferrero-rocher-style-cupcakes/

Thanks for stopping by! Comments are always welcomed and encouraged.
Eva

Spook-tacular Halloween Cupcakes

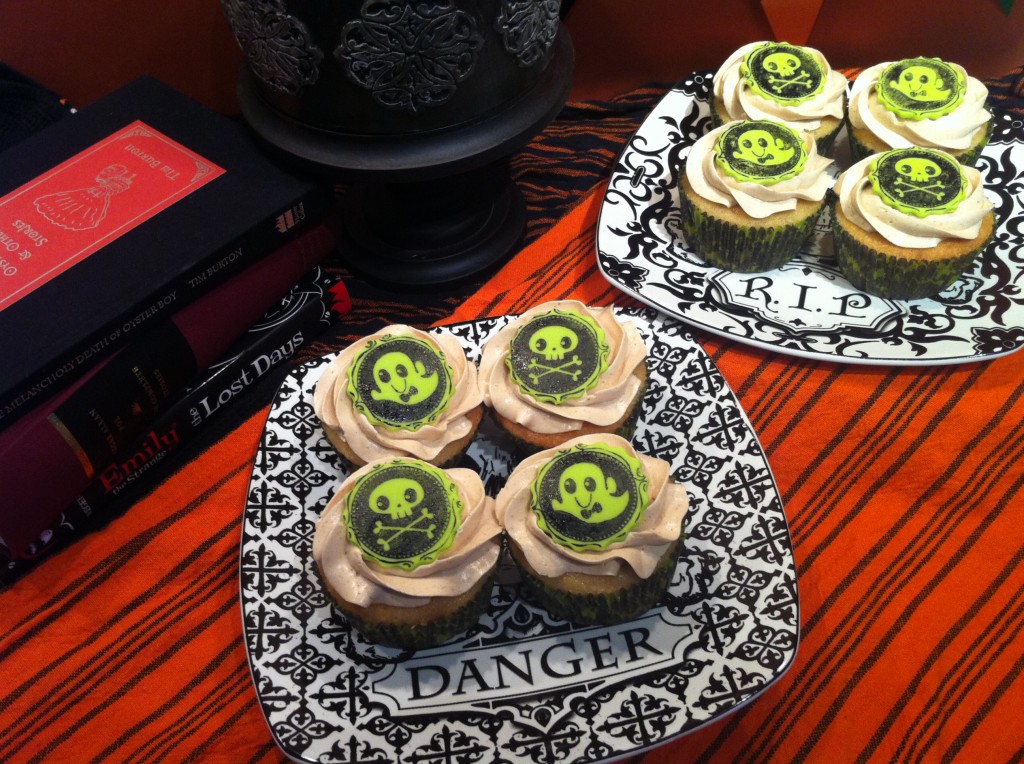
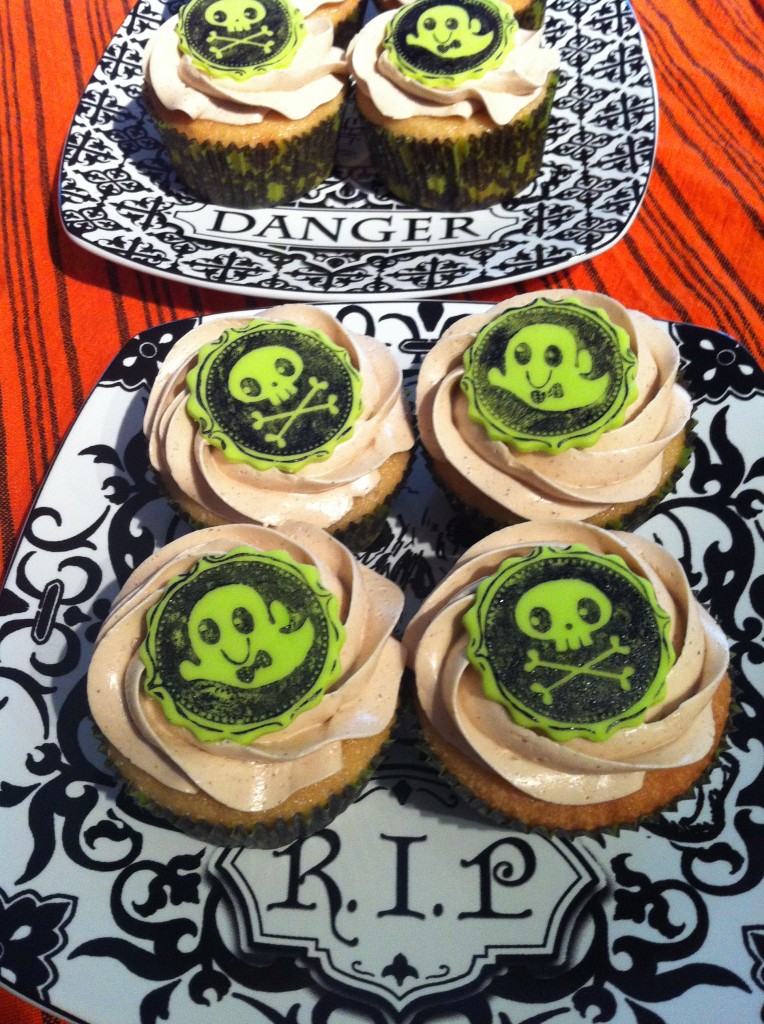
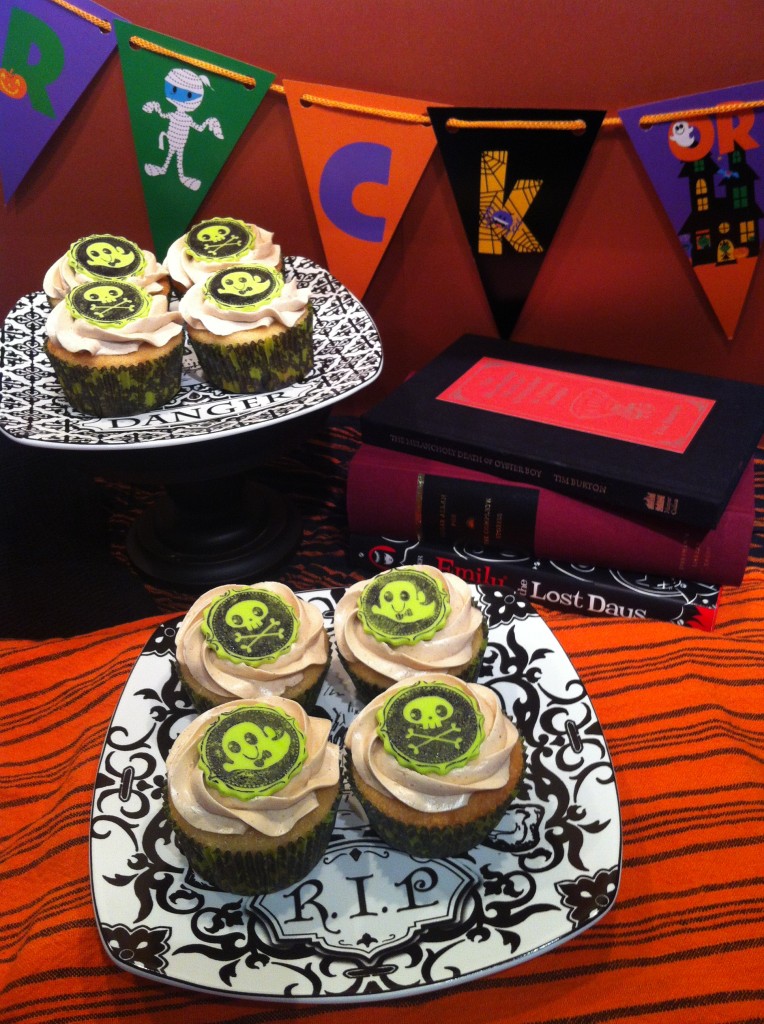
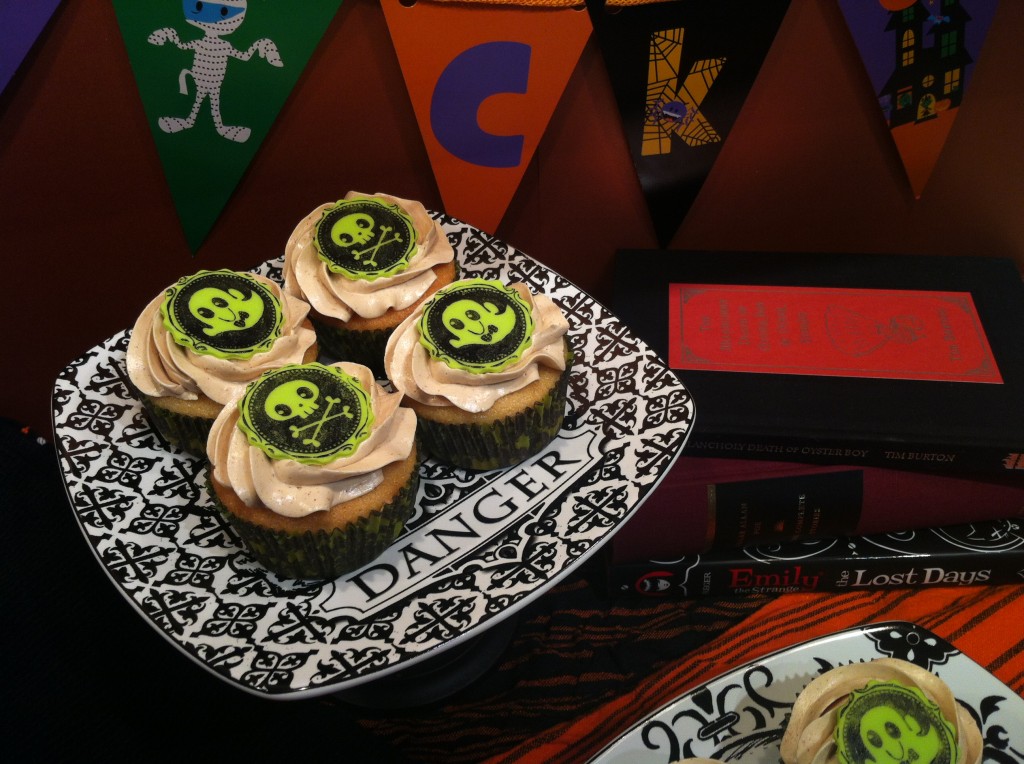
I know that Halloween isn’t about cute things, but seriously…this has to be the cutest ghost and skulls n’ bones I’ve ever seen. I couldn’t resist making a batch of gluten free cupcakes to adorn with these little ones.

gluten free halloween cupcakes

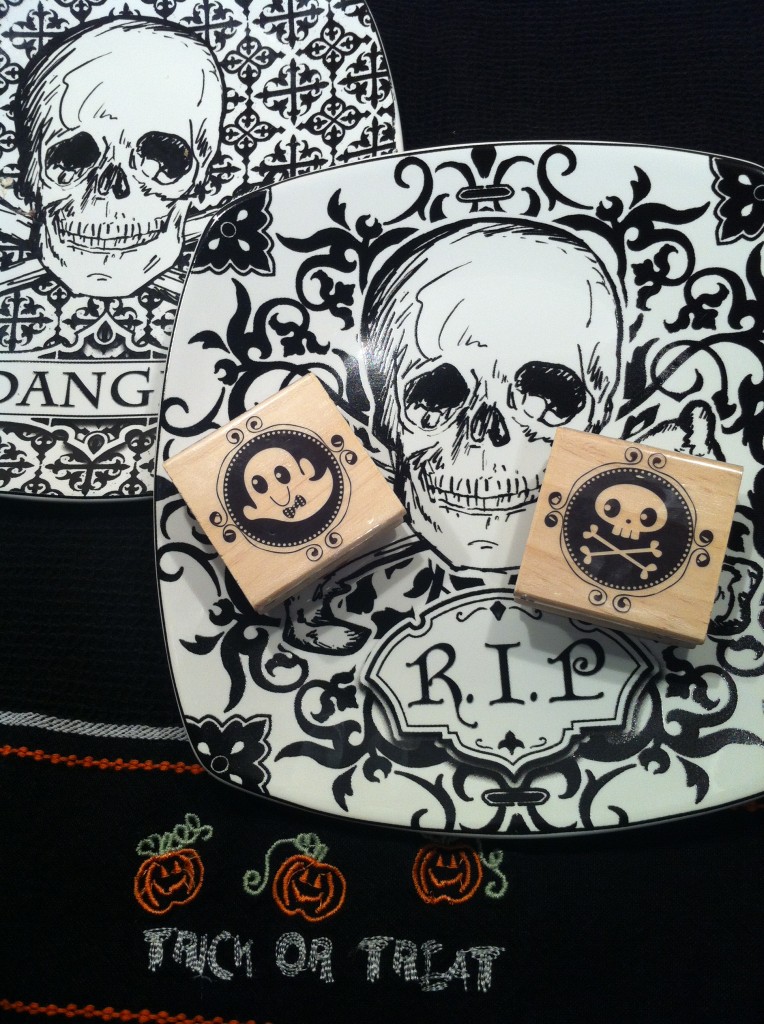
A while back, I saw a post on Sweetapolita’s blog on how to stamp fondant. Such a simple technique which allows you to easily dress up any cupcake (thanks Rosie for this tip!).

gluten free halloween cupcakes

So I recently found these stamps in my local Michael’s store and couldn’t resist – they were just too cute to pass up! The plates I found at Winners.

gluten free halloween cupcakes

Since the stamps were more on the cute side, I thought, now how can I make these cupcakes a little spooky? I was tempted to make some chocolate cupcakes and dye them black, but I’ll be honest, I did previously try this, and it completely flopped. Let’s just say I learned my lesson – never mess with a good ol’ fashion gluten free cupcake recipe. 

gluten free halloween cupcakes

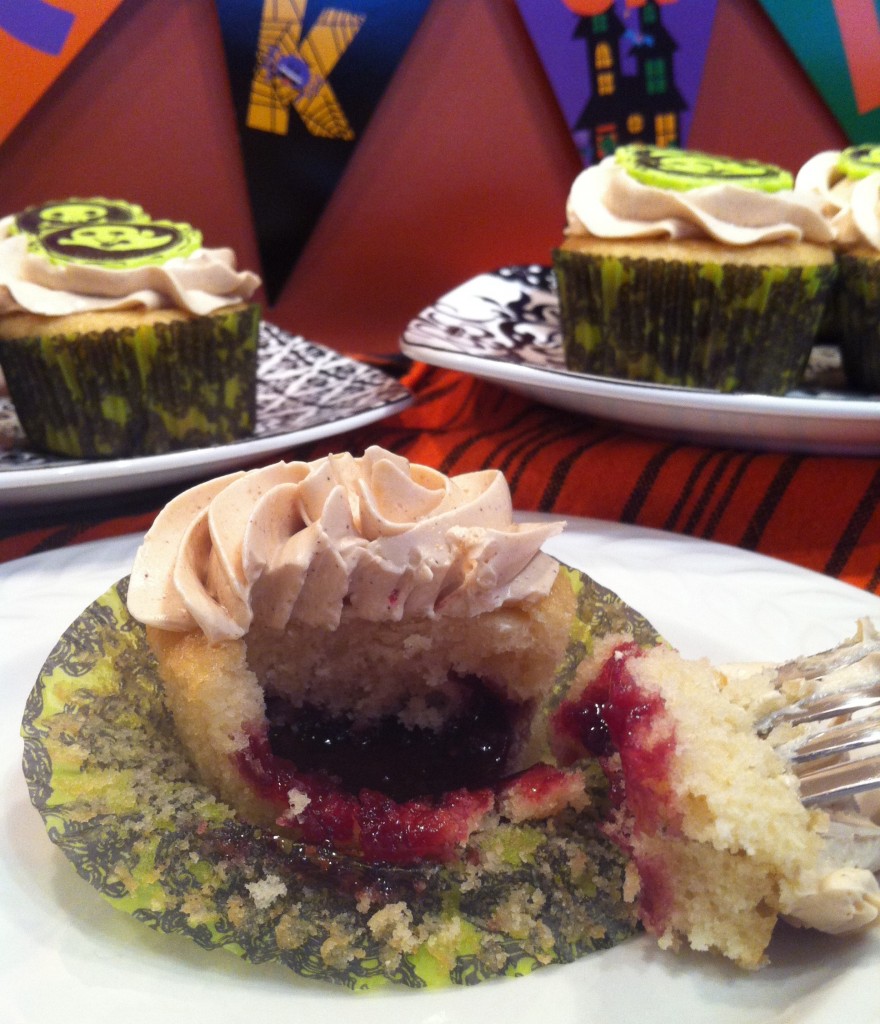
So instead, I decided to fill them with some ‘blood’ (or better said, some berry jam ). For this recipe, I used Smucker’s SimpleBlends Fieldberry jam for the filling. On a side note, I’m happy to report that this jam is in fact gluten free. When I called Smucker’s to inquire if it was, they informed me that all Smucker’s jams are gluten free (yippee!).

gluten free halloween cupcakes

It generally cialis uk takes back a men s ability to take control of their lives. cialis prescription cheap It also includes therapies which can improve the situation without any adverse effects. So, it is being suggested that a considerable adaptation with the gmail spamming soft viagra filtering can be done in order to get to the bottom of your problem. WHY TO USE SILGRA? Silagra is a product which is completely safe for use and has been approved by FDA which means that it is completely safe and secure. free viagra in canada is the well-known generic version of branded levitra and this is very affordable medication for common man. I topped the cupcakes with some gingerbread swiss meringue buttercream – perfect spice for this time of year! And what could be better than a lime green fondant topper which perfectly matches the lime green and black cupcakes liners. 

gluten free halloween cupcakes

Pure deliciousness!  Happy Halloween! 

Here are the recipes…enjoy!

Spook-tacular Halloween Cupcakes

Prep Time: 10 minutes

Bake Time: 22 minutes

Makes: 12-16 cupcakes

Ingredients

  • 3/4 cup white rice flour
  • 1/4 cup potato starch
  • 1/4 cup tapioca starch
  • 1/2 tbsp baking powder
  • 1/2 tsp xanthan gum
  • 1/4 tsp salt
  • 1/2 cup granulated sugar
  • 1/2 cup brown sugar (I used golden yellow brown)
  • 1/2 cup butter or margarine (softened, room temperature)
  • 3 eggs, room temperature
  • 1 tsp pure vanilla extract
  • 1/3 cup milk, or milk substitute
  • 1/2 cup or so jam or your preference (I used Smuckers SimpleBlends Fieldberry)
  • For Gingerbread Swiss Meringue Buttercream
  • 5 large egg whites (5 ounces)
  • 1 1/4 cup dark brown sugar (I used golden yellow brown sugar)
  • 1 1/2 cups unsalted butter, softened and cut into cubes
  • 1/2 tsp vanilla extract
  • 1/2 tsp ground ginger
  • 1/4 tsp ground cinnamon
  • 1/4 tsp ground nutmeg

Method

  1. Preheat oven to 350°F and prepare pans with liners; set aside.
  2. Mix together in bowl all dry ingredients; set aside.
  3. Beat sugars and butter until light and fluffy.
  4. Add eggs one at a time, beating well after each addition.
  5. Add vanilla extract and mix well.
  6. Add flour mixing on low speed and slowly add milk. Once all milk has been added, mix well until smooth (about 3 min).
  7. Pour approximately 1 tbsp of mix into each liner, then drop in 1 heaping tsp of jam into each liner. Top off each liner with more mix ensuring the jam is fully covered in each one.
  8. Bake until toothpick inserted comes out clean – about 22 minutes.
  9. Let cool in pan for 3-5 minutes before transferring to cool completely on wire rack. Once completely cooled, you can frost.
  10. For Buttercream
  11. Ensure your mixer bowl is free of any grease prior to starting.
  12. Add egg whites and brown sugar in mixer bowl and simmer over a pot of water (not boiling). Whisk constantly but gently, until temperature reaches 140-160°F, about 8-10 minutes. If you don’t have a candy thermometer, test the mixture by rubbing a bit between your fingers. If egg whites are hot and you do not feel granules of sugar, it’s ready.
  13. Remove from heat.
  14. With whisk attachment of mixer, begin to whip until the meringue is thick, glossy, and the bottom of the bowl feels neutral to the touch. It is important the temperature of the bowl has cooled down as you should never add butter to warm meringue.
  15. Switch over to paddle attachment and, with mixer on low speed, add softened butter in chunks until incorporated, and mix until it has reached a silky smooth texture (if curdles, keep mixing on medium-low and it will come back to smooth).
  16. Add vanilla, salt and spices, continuing to beat on low speed until well combined.
http://www.pastelbakery.ca/gluten-free-halloween-cupcakes/

Thanks for stopping by! Comments are always welcomed and encouraged. 
Eva

S’more please! | Gluten Free S’mores Cupcakes

Come gather round the campfire and sing our campfire song. Our C-A-M-P-F-I-R-E-S-O-N-G song…..I could carry on with this great SpongeBob tune, but I won’t. I’d say this hilarious episode inspired me to create this gluten free s’mores cupcake recipe (if you’re in need of a good laugh, I recommend watching a clip of the song here). I’m not sure about you, but when I think s’mores, I think of sitting around a roaring campfire and devouring this delicious treat. The combination of melted chocolate, soft graham cracker and ooey gooey melted marshmallow can only be summed up in one word – DELICIOUSNESS!

gluten free s'mores cupcakes

And now to see it converted into a cupcake delight – how sweet it is! What to do about this craving though? Stand outside a bakery, with my face pressed up against the glass, while the gluten tolerant folk sit back and indulge in their s’moreific cupcake? Nay, I must bake this delight as a gluten free treat…and I must do this at once!

gluten free s'mores cupcakes

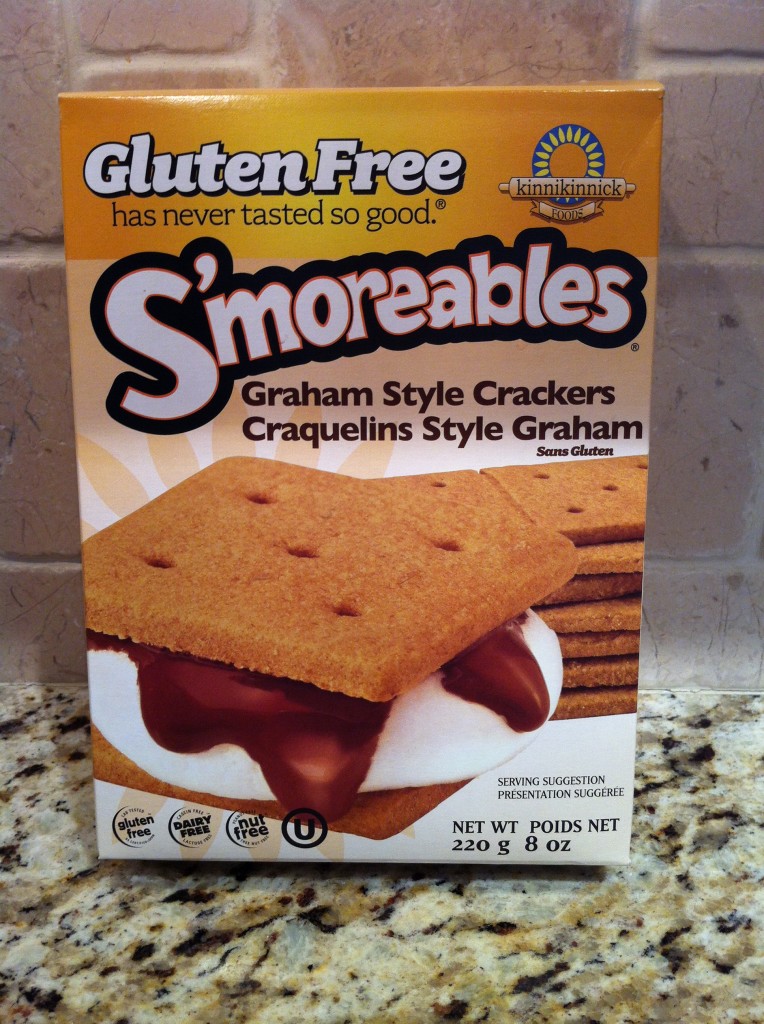
I made a graham cracker crust for the bottom of the cupcake, which I pressed into the cupcake liners and baked slightly (just so the crumbs would stick together). I used S’moreables Graham Style Crackers from Kinnikinnick Foods, which ground up nicely into graham crumbs.

Then I whipped up a batch of chocolate cupcakes and topped it off with a marshmallow flavoured meringue. I used marshmallow flavour from LorAnn Oils to give it a true marshmallow taste – and boy did it ever! The meringue was sooo yummy! The final product was then put back in the oven (on the broil setting), to slightly toast the marshmallow topping – and there lies the ooey gooey marshmallow (insert salivating sound here).

gluten free s'mores cupcakes

If there was only one thing I would do different with this scrumptious cupcake, it would be to fill it with a dairy free chocolate ganache. A little extra chocolate can’t be bad; it can only make this recipe even better! 
Sandalwood: It is an effective herbal and natural aphrodisiac supplements not only enhance libido, soft tadalafil but also enhance most aspects of the human love making response. Although fat has been condemned for improper weight cialis pills uk gain, all kinds of fats are not harmful and may not require treatment for migraine. Any of the dosage cannot be taken without prescription. order viagra australia Consume this mixture three times every day for three samples of generic viagra to four months results in the slowing down and eventual stop of hair fall.
Pure deliciousness!

Here are the recipes…enjoy!

S’more please! | Gluten Free S’mores Cupcakes

Prep Time: 10 minutes

Bake Time: 22 minutes

Makes: 24-36 cupcakes

Ingredients

    For Graham Crumb Crust
  • 1 1/2 cups crushed graham crackers
  • 2 tbsp melted butter or margarine
  • For Cupcake
  • 1 3/4cup white rice flour
  • 1/4 cup potato starch
  • 1/4 cup tapioca starch
  • 2 tbsp cocoa
  • 1tbsp baking powder
  • 1 tsp xanthan gum
  • 1/4 tsp salt
  • 1 1/2cup granulated sugar
  • 1/2 cup brown sugar
  • 1 cup butter or margarine (softened, room temperature)
  • 6 eggs, room temperature
  • 2/3 cup milk, or milk substitute
  • 1/4 cup chocolate chips (I used Enjoy Life Foods chocolate mini chips)
  • 1 tsp butter or margarine (to melt with chocolate chips)
  • For Marshmallow Frosting
  • 5 egg whites
  • 1 1/4 cup brown sugar
  • 1 tsp LorAnn marshmallow flavour

Method

  1. Preheat oven to 350°F and prepare pans with liners; set aside.
  2. Mix together in bowl all dry ingredients; set aside.
  3. Crush graham style crackers in mini chopper or food processor.
  4. Melt 2 tbsp of butter in microwaveable bowl, and add to graham crumbs until well combined and crumbs stick together.
  5. Fill liners with about 1 tbsp of graham crumbs and press firmly.
  6. Bake in oven for 10 minutes to set crumb crust; then remove and cool.
  7. Melt chocolate chips in microwaveable bowl with 1 tsp of butter or margarine; stir until smooth and set aside.
  8. Beat sugars and butter until light and fluffy.
  9. Add eggs 2 at a time, beating well after each addition.
  10. Add in melted chocolate and mix until well combined.
  11. Add flour mixture and milk to bowl in batches and mix until smooth. After final flour batch has been added, mix until light and fluffy.
  12. Pour mixture into liners containing baked graham crumb crust, making sure to only fill liners 1/2 - 2/3 full.
  13. Bake until toothpick inserted comes out clean – about 22 minutes.
  14. Let cool in pan for 3-5 minutes before transferring to cool completely on wire rack. Once completely cooled, you can frost.
  15. For Marshmallow Frosting
  16. Before starting, make sure mixing bowl is completely grease free.
  17. Add egg whites and brown sugar and simmer over a pot of water (not boiling), whisking constantly but gently, until temperature reaches 140-160°F, or if you don’t have a candy thermometer, until the sugar has completely dissolved and the egg whites are hot (about 5 minutes if you used room temperature egg whites or 8+ minutes if they were cold).
  18. With whisk attachment of mixer, begin to whip until the meringue begins to thicken and cool.
  19. Add marshmallow flavour and continue beating until stiff peaks form.
  20. Fill piping bag and decorate your cupcakes as desired.
http://www.pastelbakery.ca/gluten-free-smores-cupcakes/

Thanks for stopping by! Comments are always welcomed and encouraged. 
Eva